Our entryway is a continuous work in progress. We do not have a closet for coats near the front door, so everything we need to go out into the world needs to be accessible and still not look like a complete disaster. Once I decided to get rid of our tiny storage bench and replace it with the Bekvam stools, I knew I would need another piece of furniture to store hats, gloves, and scarves. I did a lot of research on dresser styles trying to decide what would work for us and not be crazy expensive. I wanted to be able to put shoes under the dresser, and have enough drawers to keep mom, dad, and kid stuff separate. I wanted a place to put a vase with flowers, and mail, and keys, and a lamp. It also needed to be smallish, as our entryway is not huge. Not too much to ask, right?
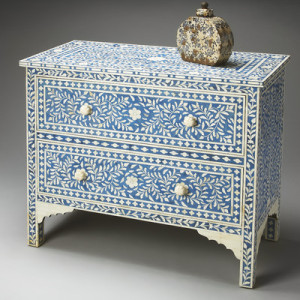
I love to look at furniture online at places like Joss & Main, and Anthropologie. I was originally inspired by the Indian inlay furniture that has become so popular. After I found an IKEA hack that uses stencils to mimic the appearance of bone inlay, I was very excited to try my hand at stencilling. How hard could it be? I watched a lot of stencilling videos. I ordered the stencils and bought the 3 drawer IKEA TARVA dresser and left it to wait patiently in our garage over the summer while I worked on the entryway stools.
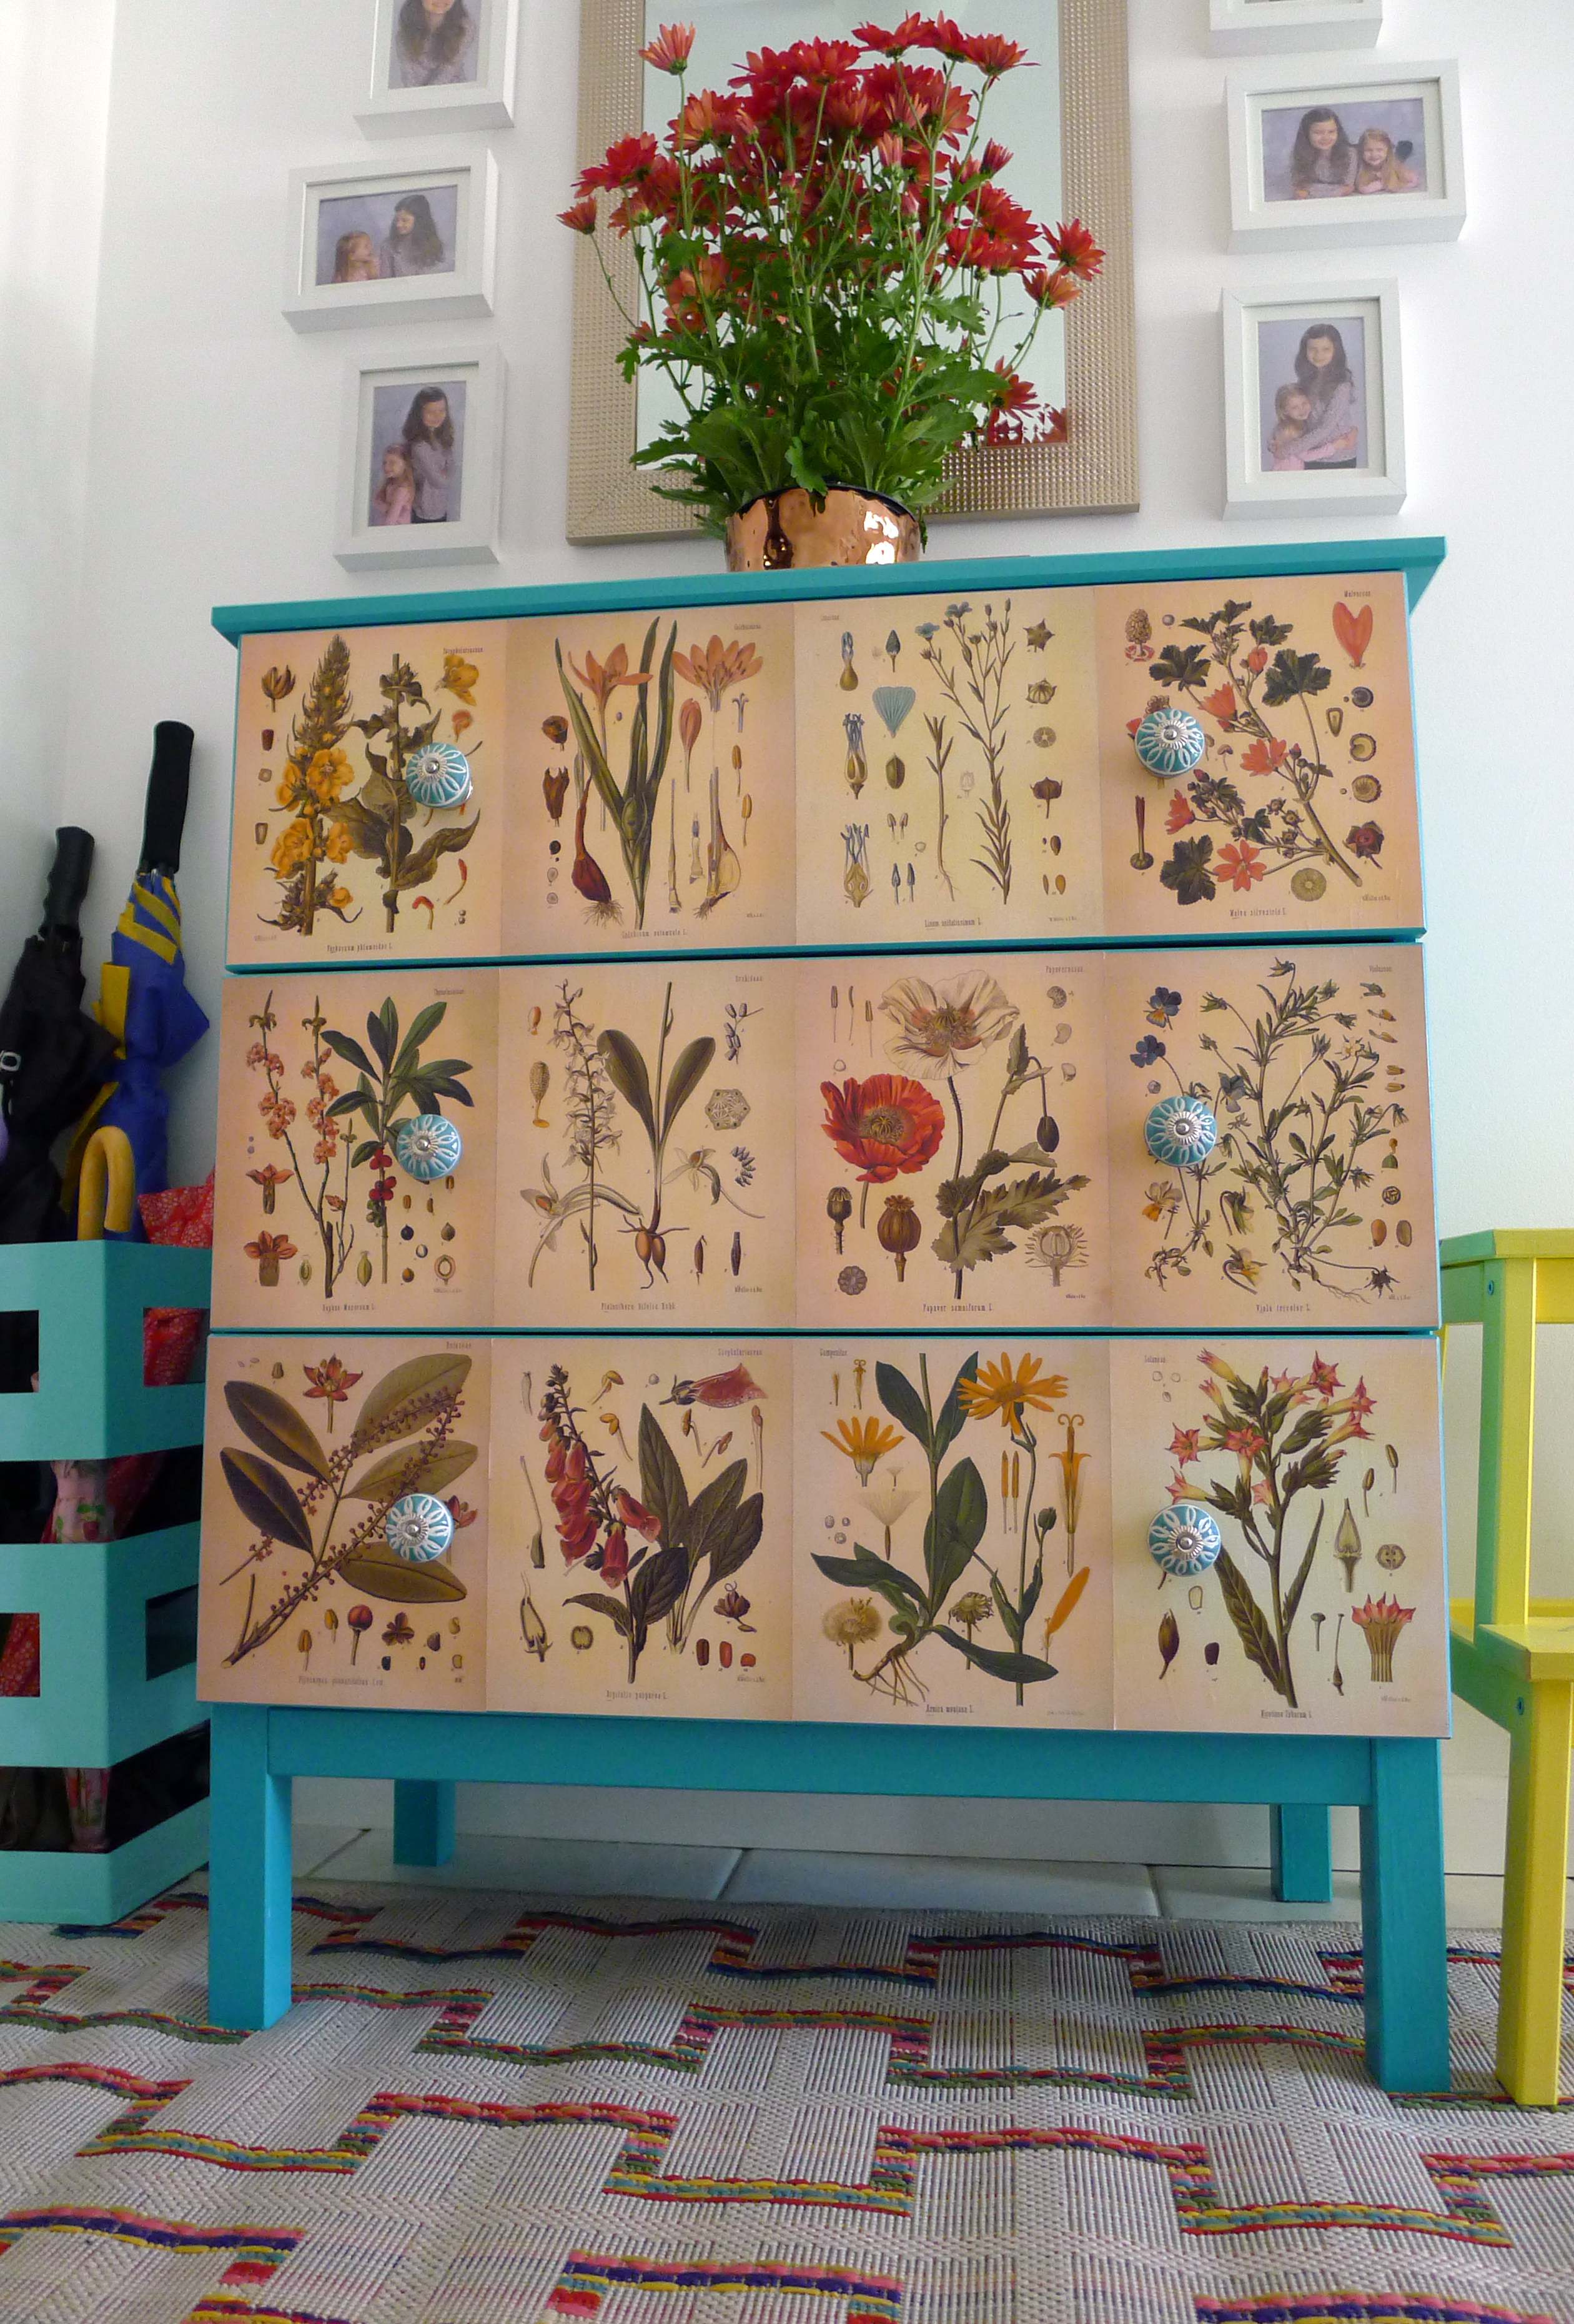
I adore floral designs. If you type “botanical decoupage dresser” into google images, you come up with some truly lovely pieces. This being the first large piece of furniture I was working on, I felt like I needed to keep it a little simple. I also wanted to finish the dresser before winter. I scoured the internet for botanical prints, and finally found a wonderful source here which mentioned the Missouri Botanical Garden online collection of prints. Jackpot! I found more than enough beautiful prints to decorate my dresser.
I printed many (too many!) botanical prints out on a regular inkjet printer. I covered them with a layer of Golden gel medium to seal in the ink. I was worried that the ink might run but it didn’t smear much at all. Then, I cut and adhered the prints to the drawer fronts with mod podge. I put on a couple coats of polycrylic to seal them a bit more. I assembled my dresser and added pretty knobs I found at Marshall’s.
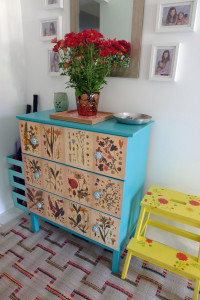
 I’m very pleased with the way the dresser turned out. It’s a cheerful spot to locate all of our junk. I finally have a dedicated place to put pretty plants and bouquets of flowers. We have a small ceramic wax melter that doubles as a night light, and a bowl where I can always find my keys! Now, if only I could make that new rug lay down flat.