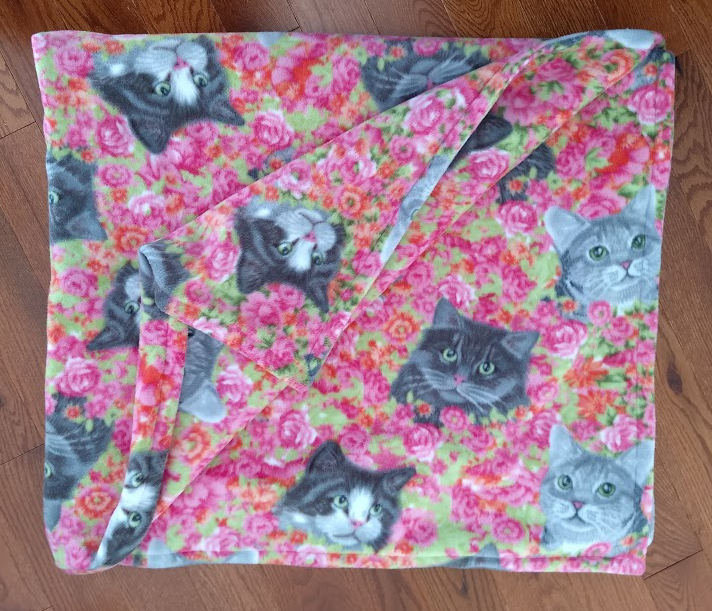
My youngest daughter has been envious of her older sister’s assortment of blankets. People have given Helena many blankets over the years. This year, for Carys’s birthday, I made her a kitty snuggle blanket.
3 yards fleece from JoAnn Fabrics. Folded it in half inside out and sewed 3 sides (like a bag). Turned right side out, and tucked top edges inside, and then sewed a straight stitch about an inch around the entire blanket. Fast and snuggly!
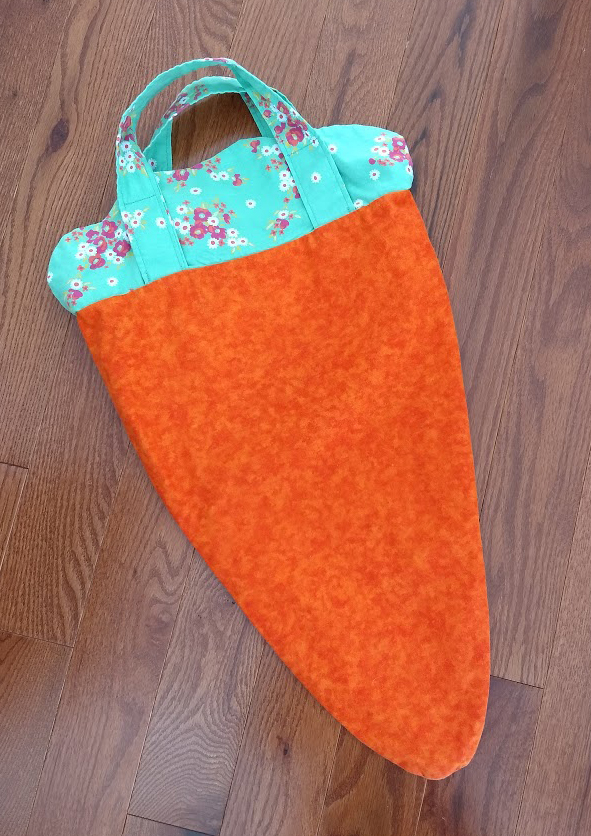
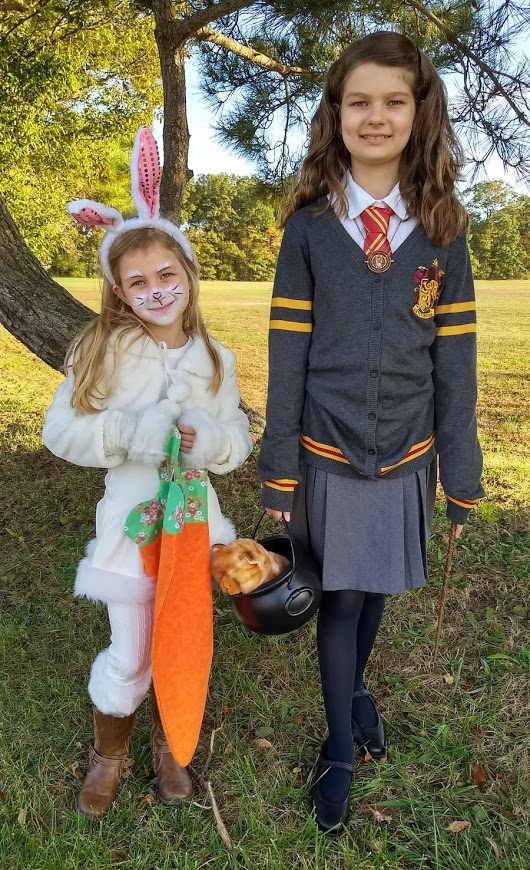
This year, I had two magical creatures to costume. My “Hermione” was put together from a variety of online shopping sources. My bunny also used some shopping sources, but she needed a skirt, tail, and treat bag made by mama. I mean, every little bunny needs a LARGE carrot bag to carry home all of that candy!
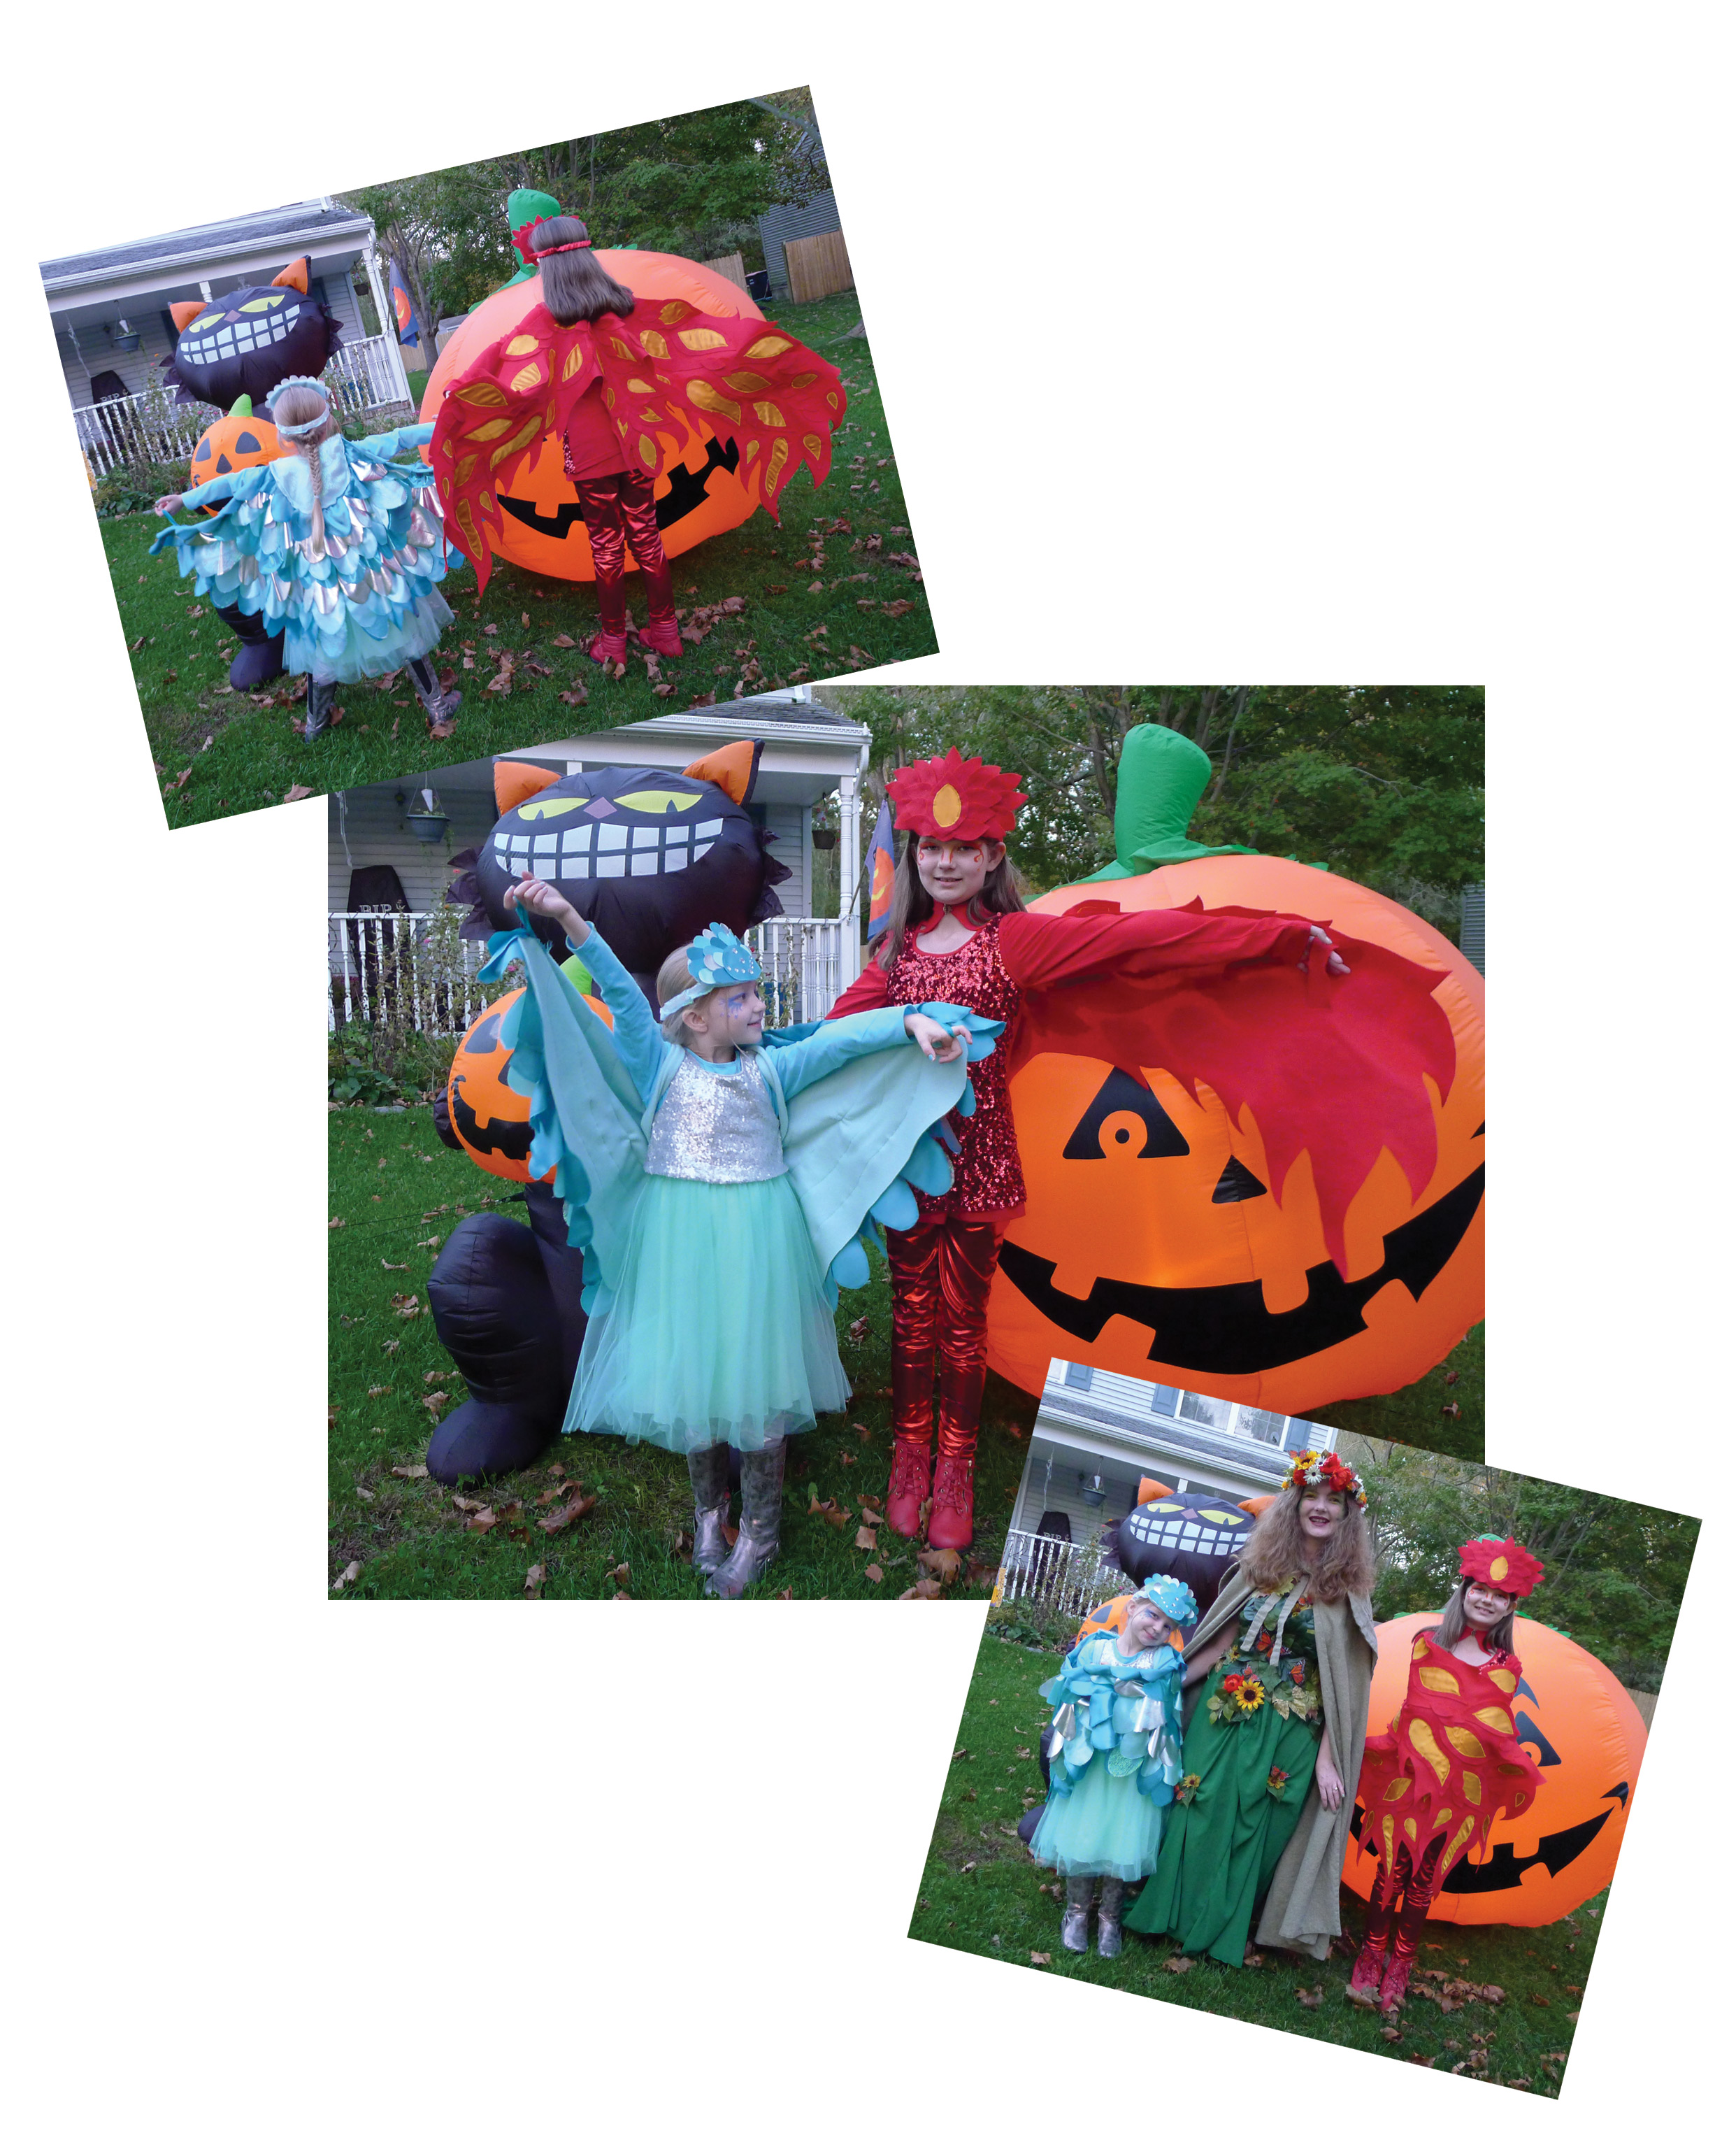
This year, my girls just so happened to both want to be birds. My youngest daughter, requested a bluebird costume. My oldest daughter wanted to be a mythical phoenix. I decided to be a woodland fairy queen. Here are our costumes for 2016.
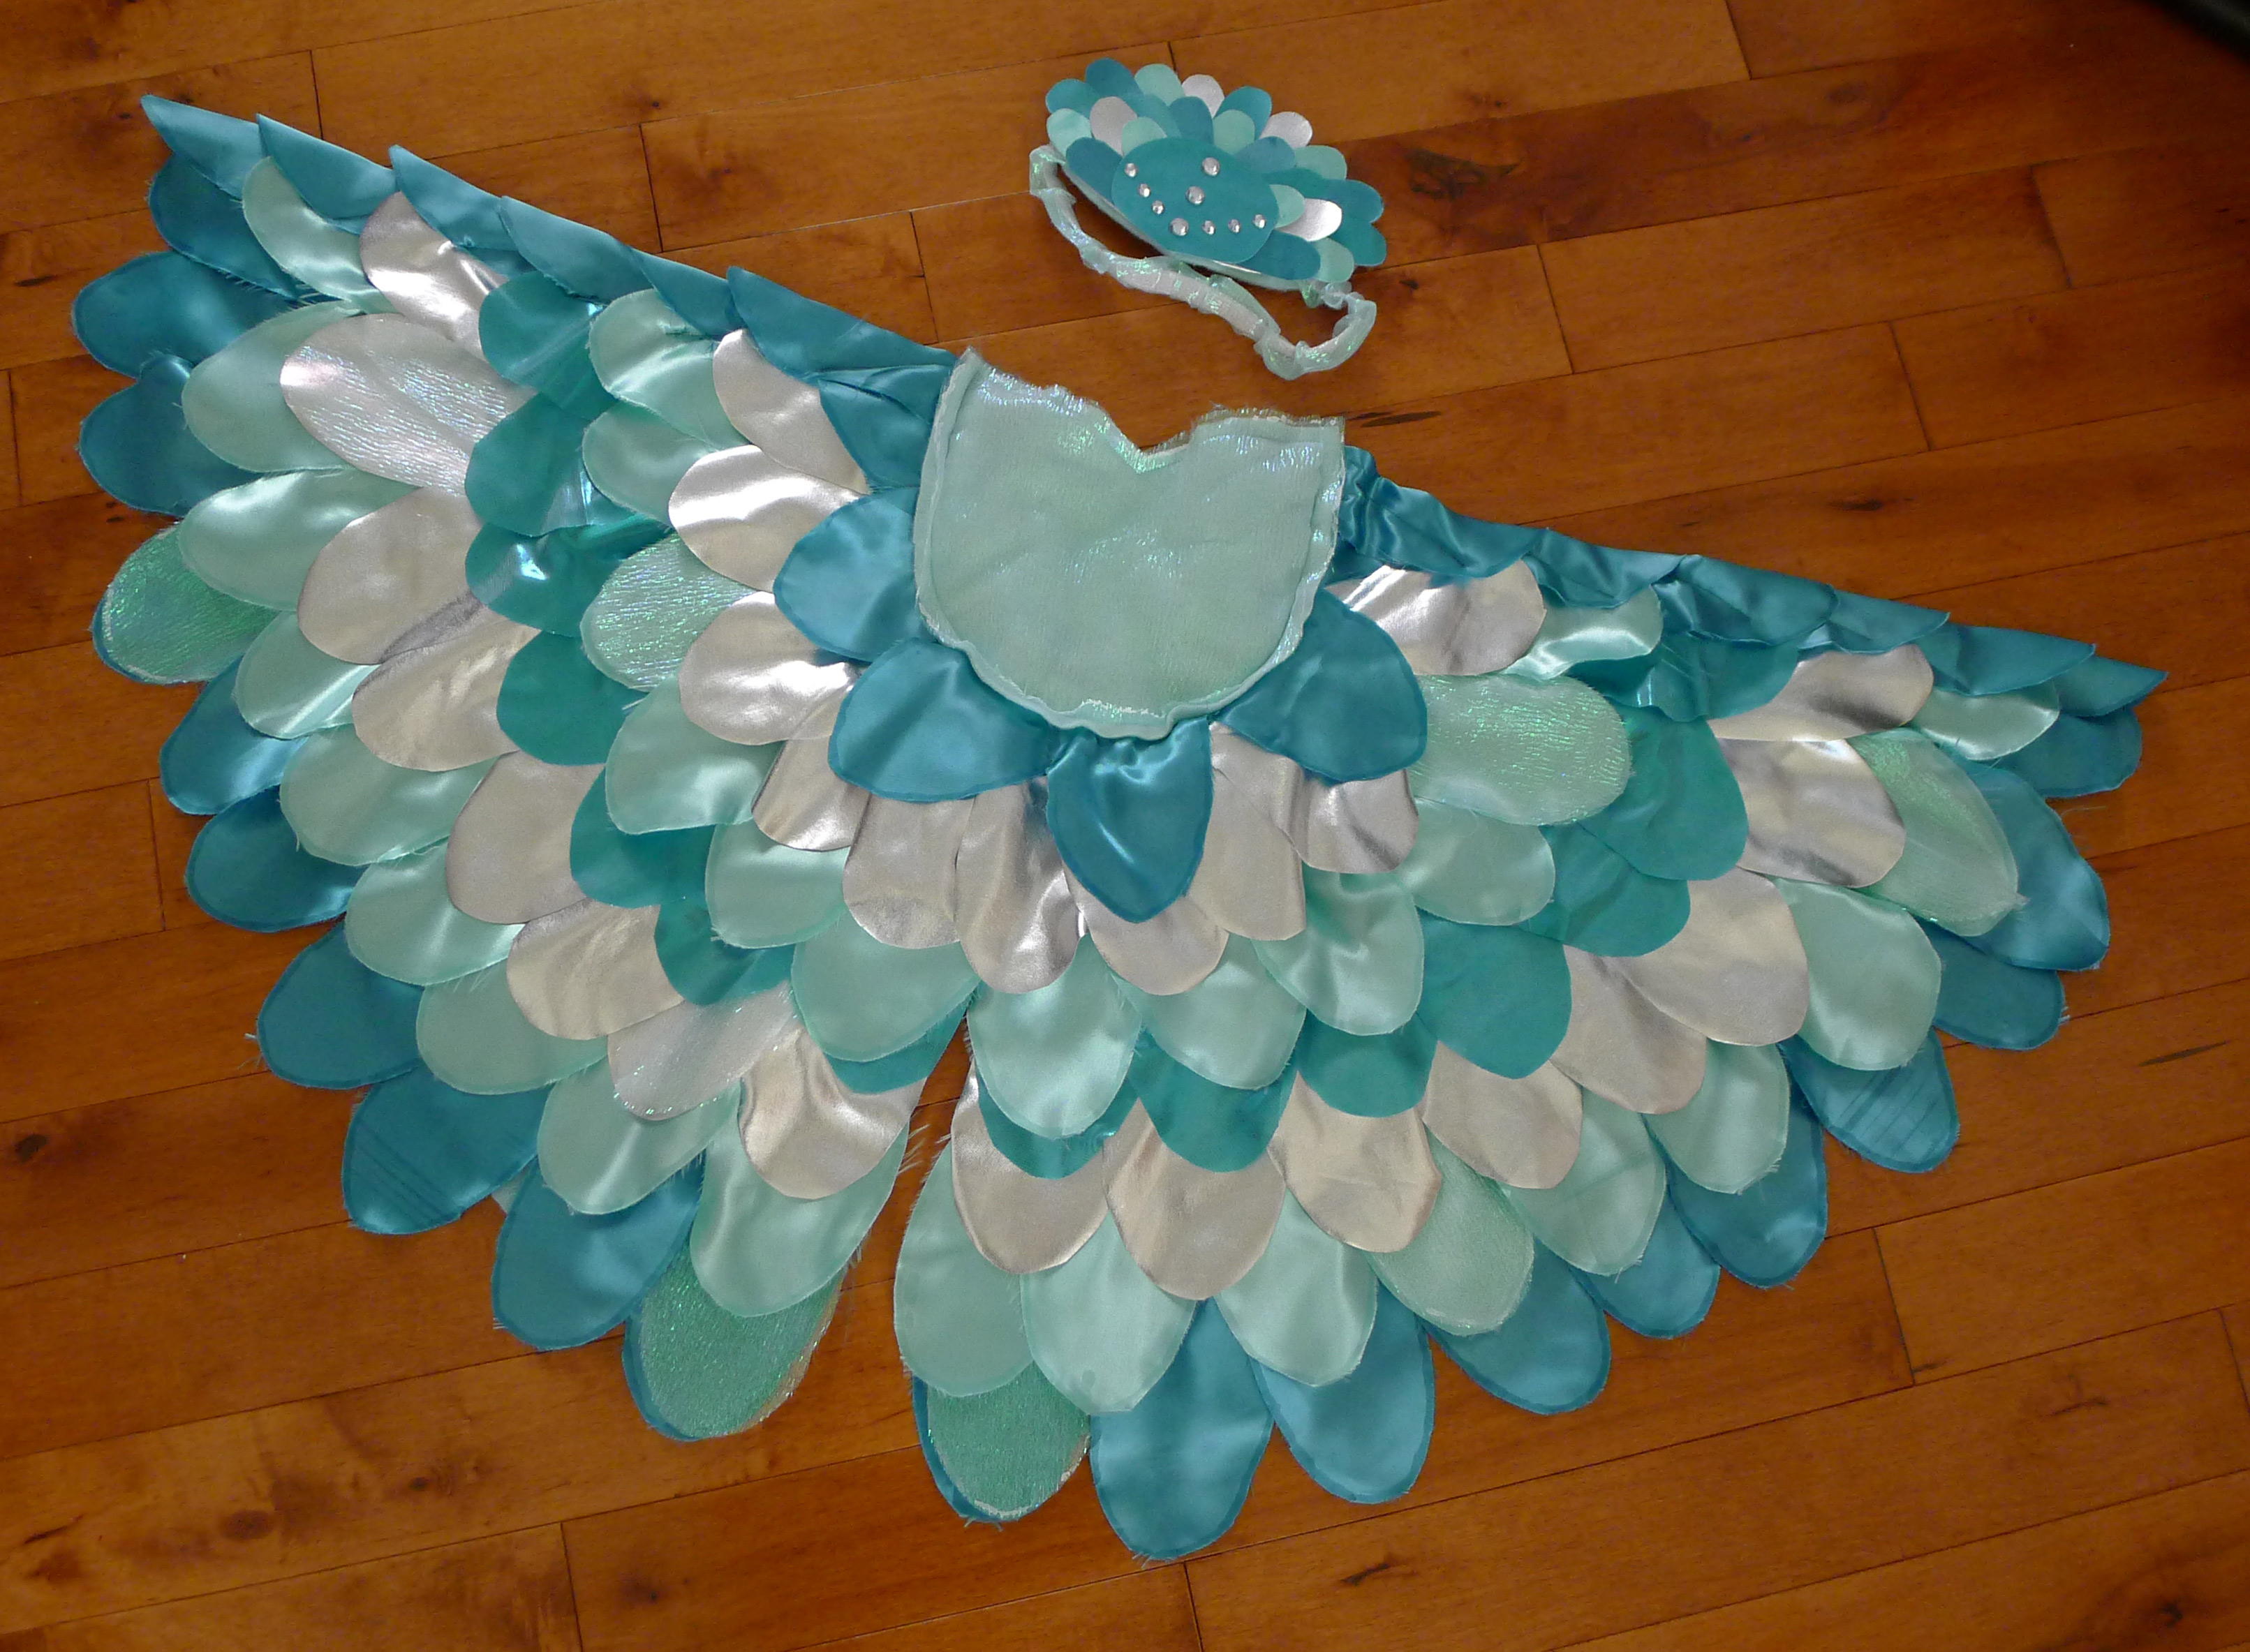
Bluebird
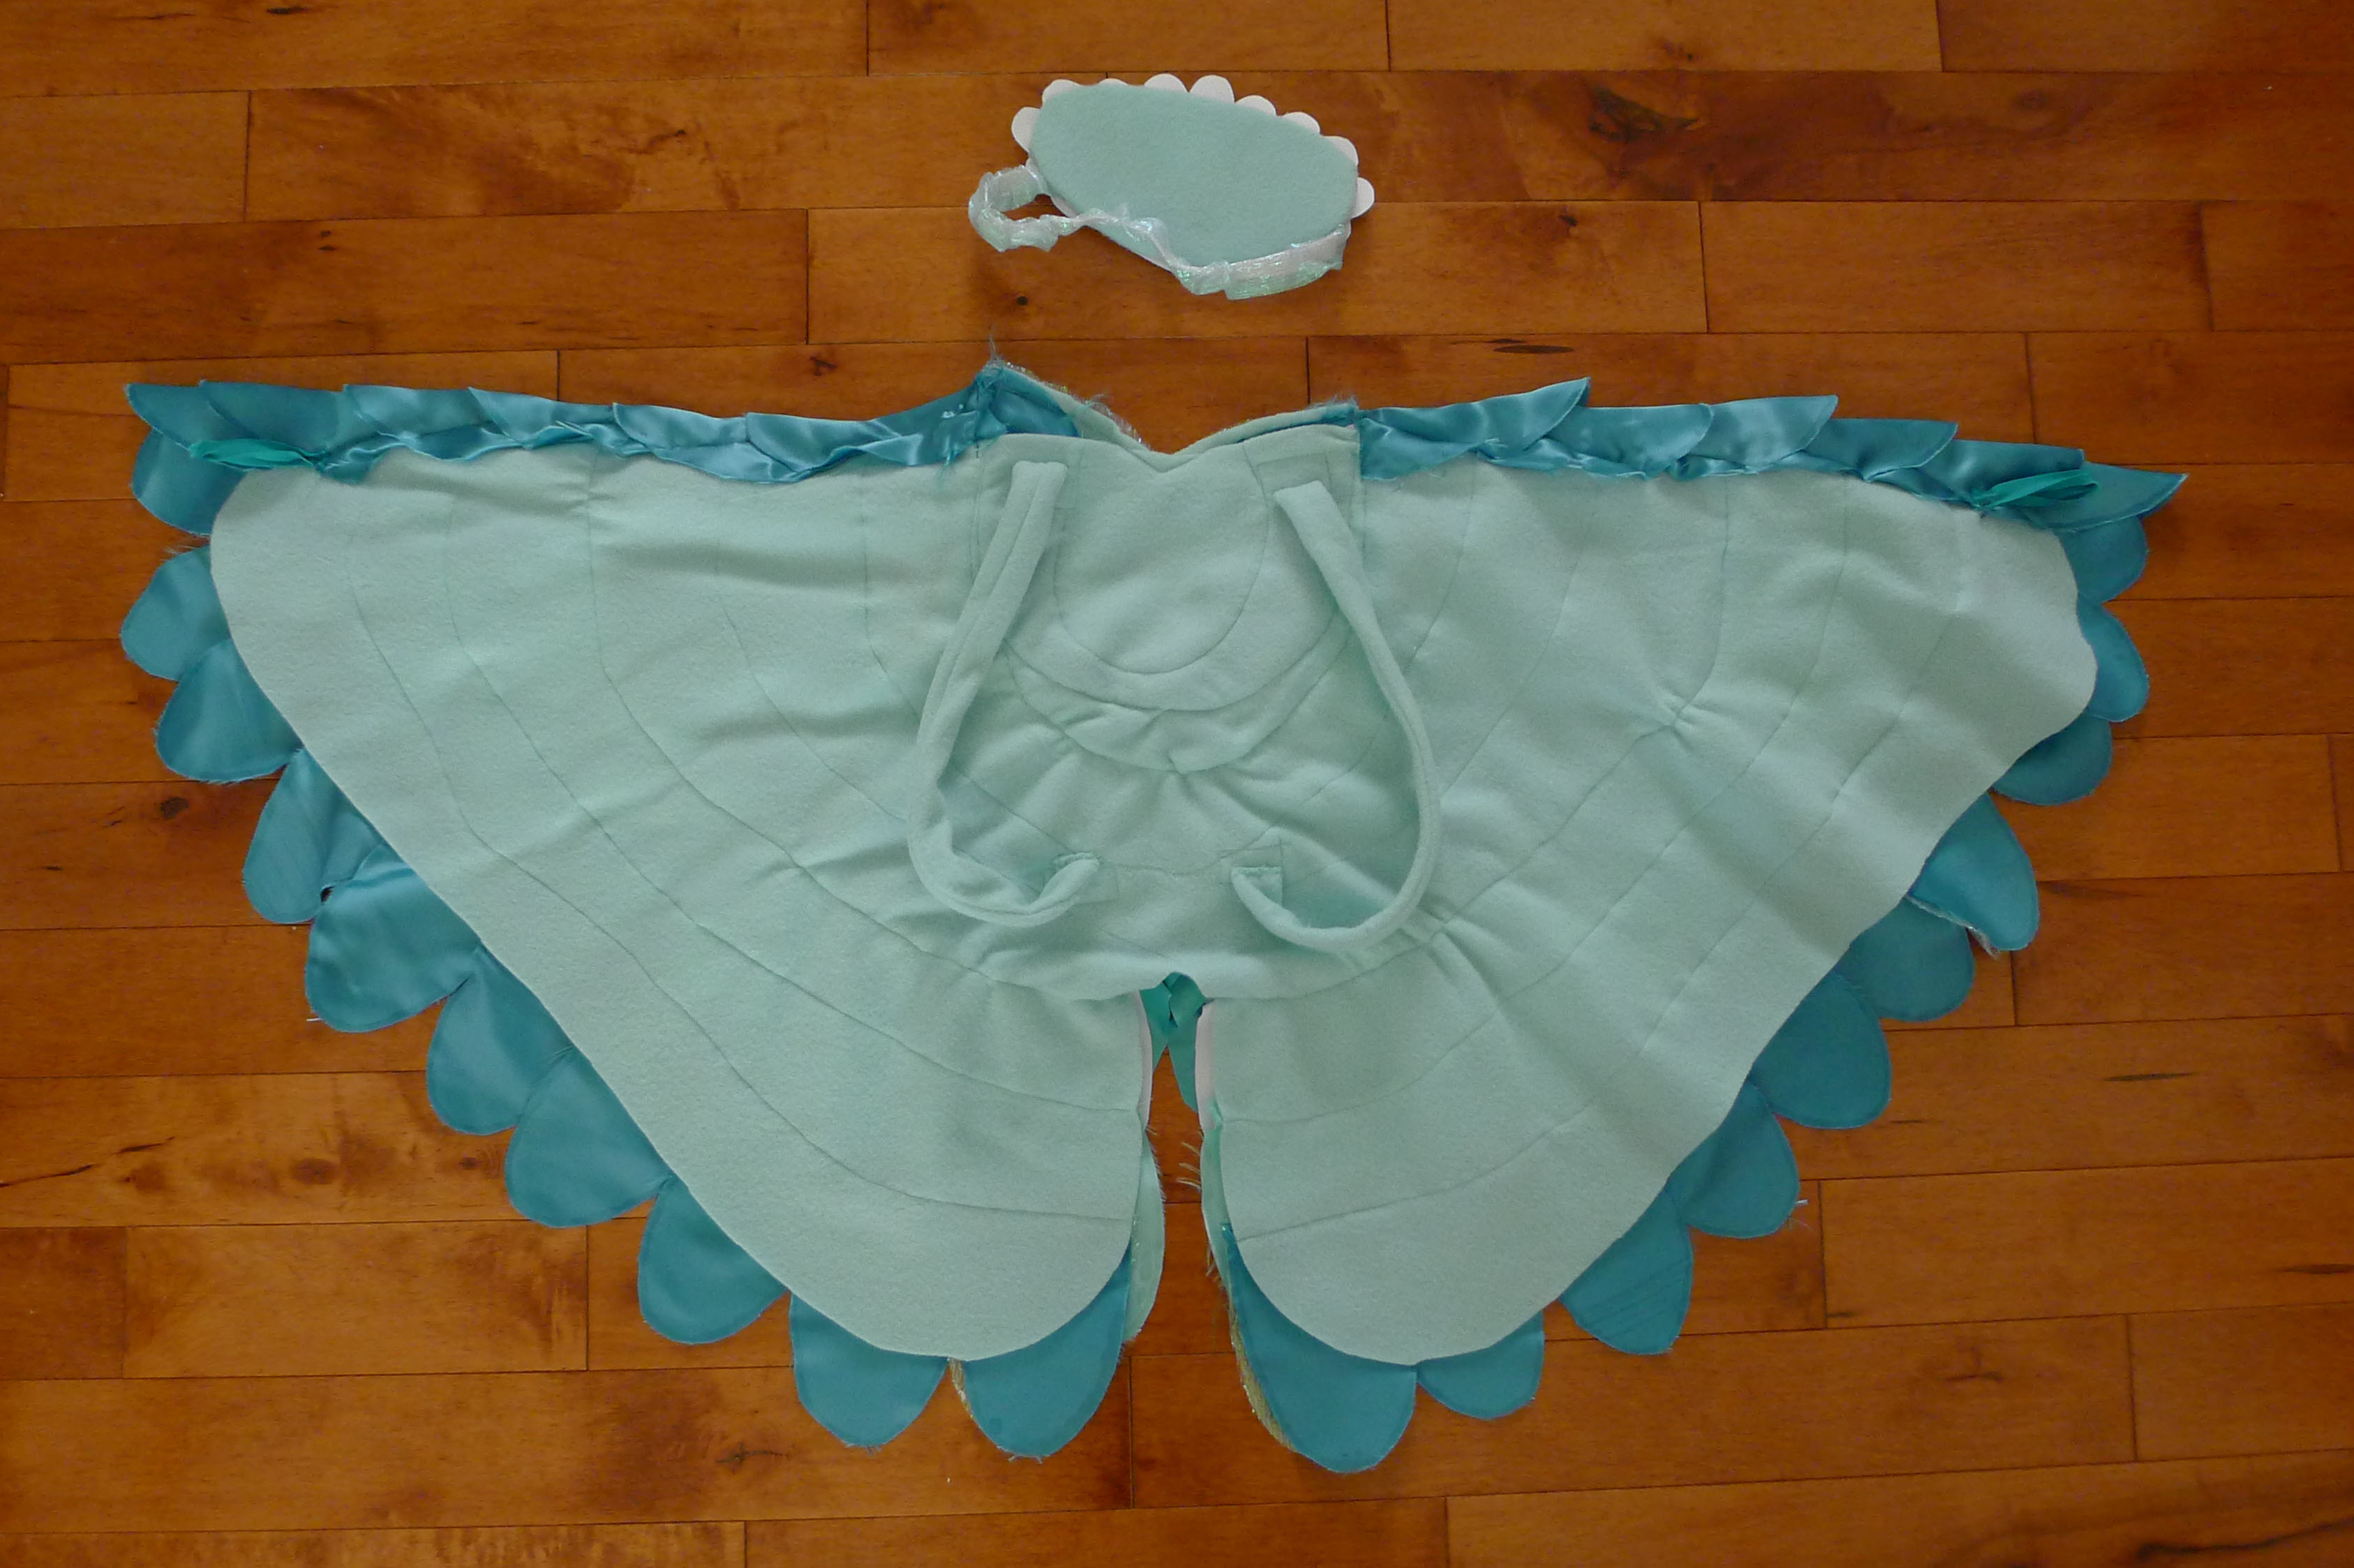
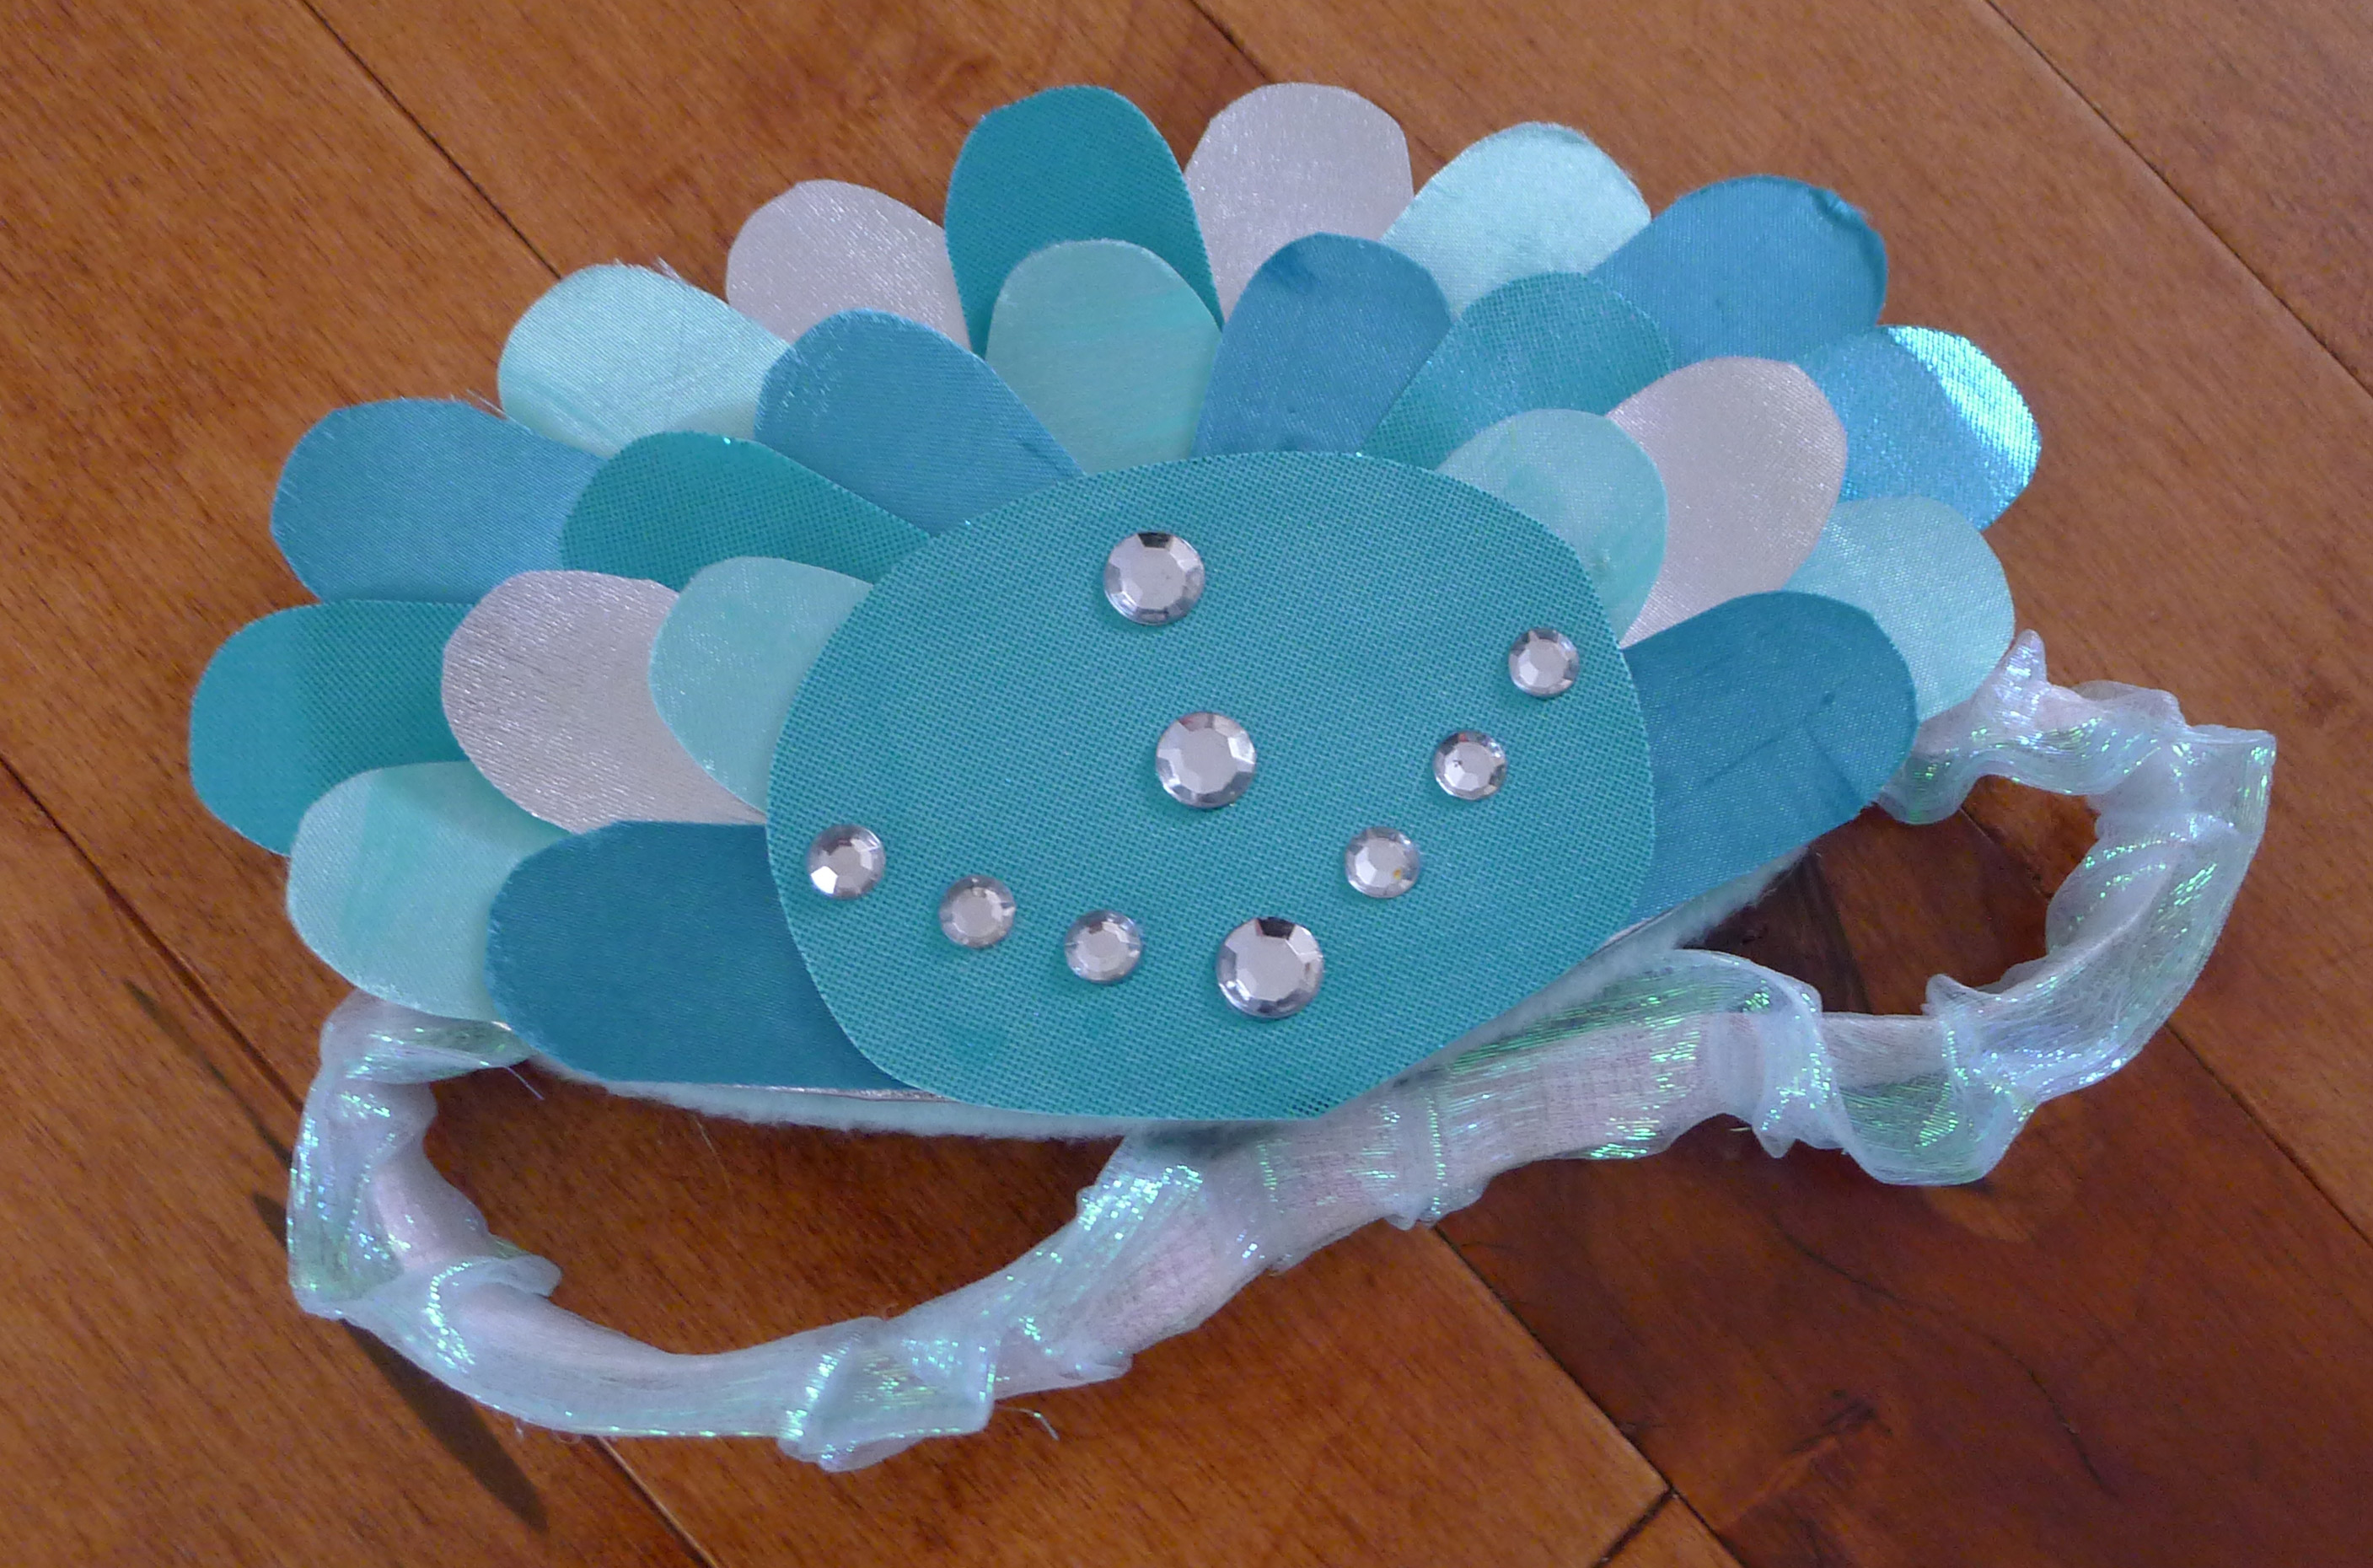
Back of wingsSoft, toasty inside of wingsCrown
I looked at many sites for ideas on how to sew wings for kids. I used a few ideas from several sites. Most sites cut out long strips of “feathers”. I decided to use individual feathers so that I could tilt them up the sides of each wing. I sewed them onto blanket fleece so that my daughter could wrap herself up if it was cold on Halloween night, and it was pretty darn cold that night.
Her headpiece was made out of two pieces of card stock, with fabric hot glued to each (soft fleece for the forehead side). I stapled elastic covered with fabric in between and glued them together. I mod podged fabric onto additional sheets of card stock to make stiff feathers, which I then cut out and adhered to the front of the crown.
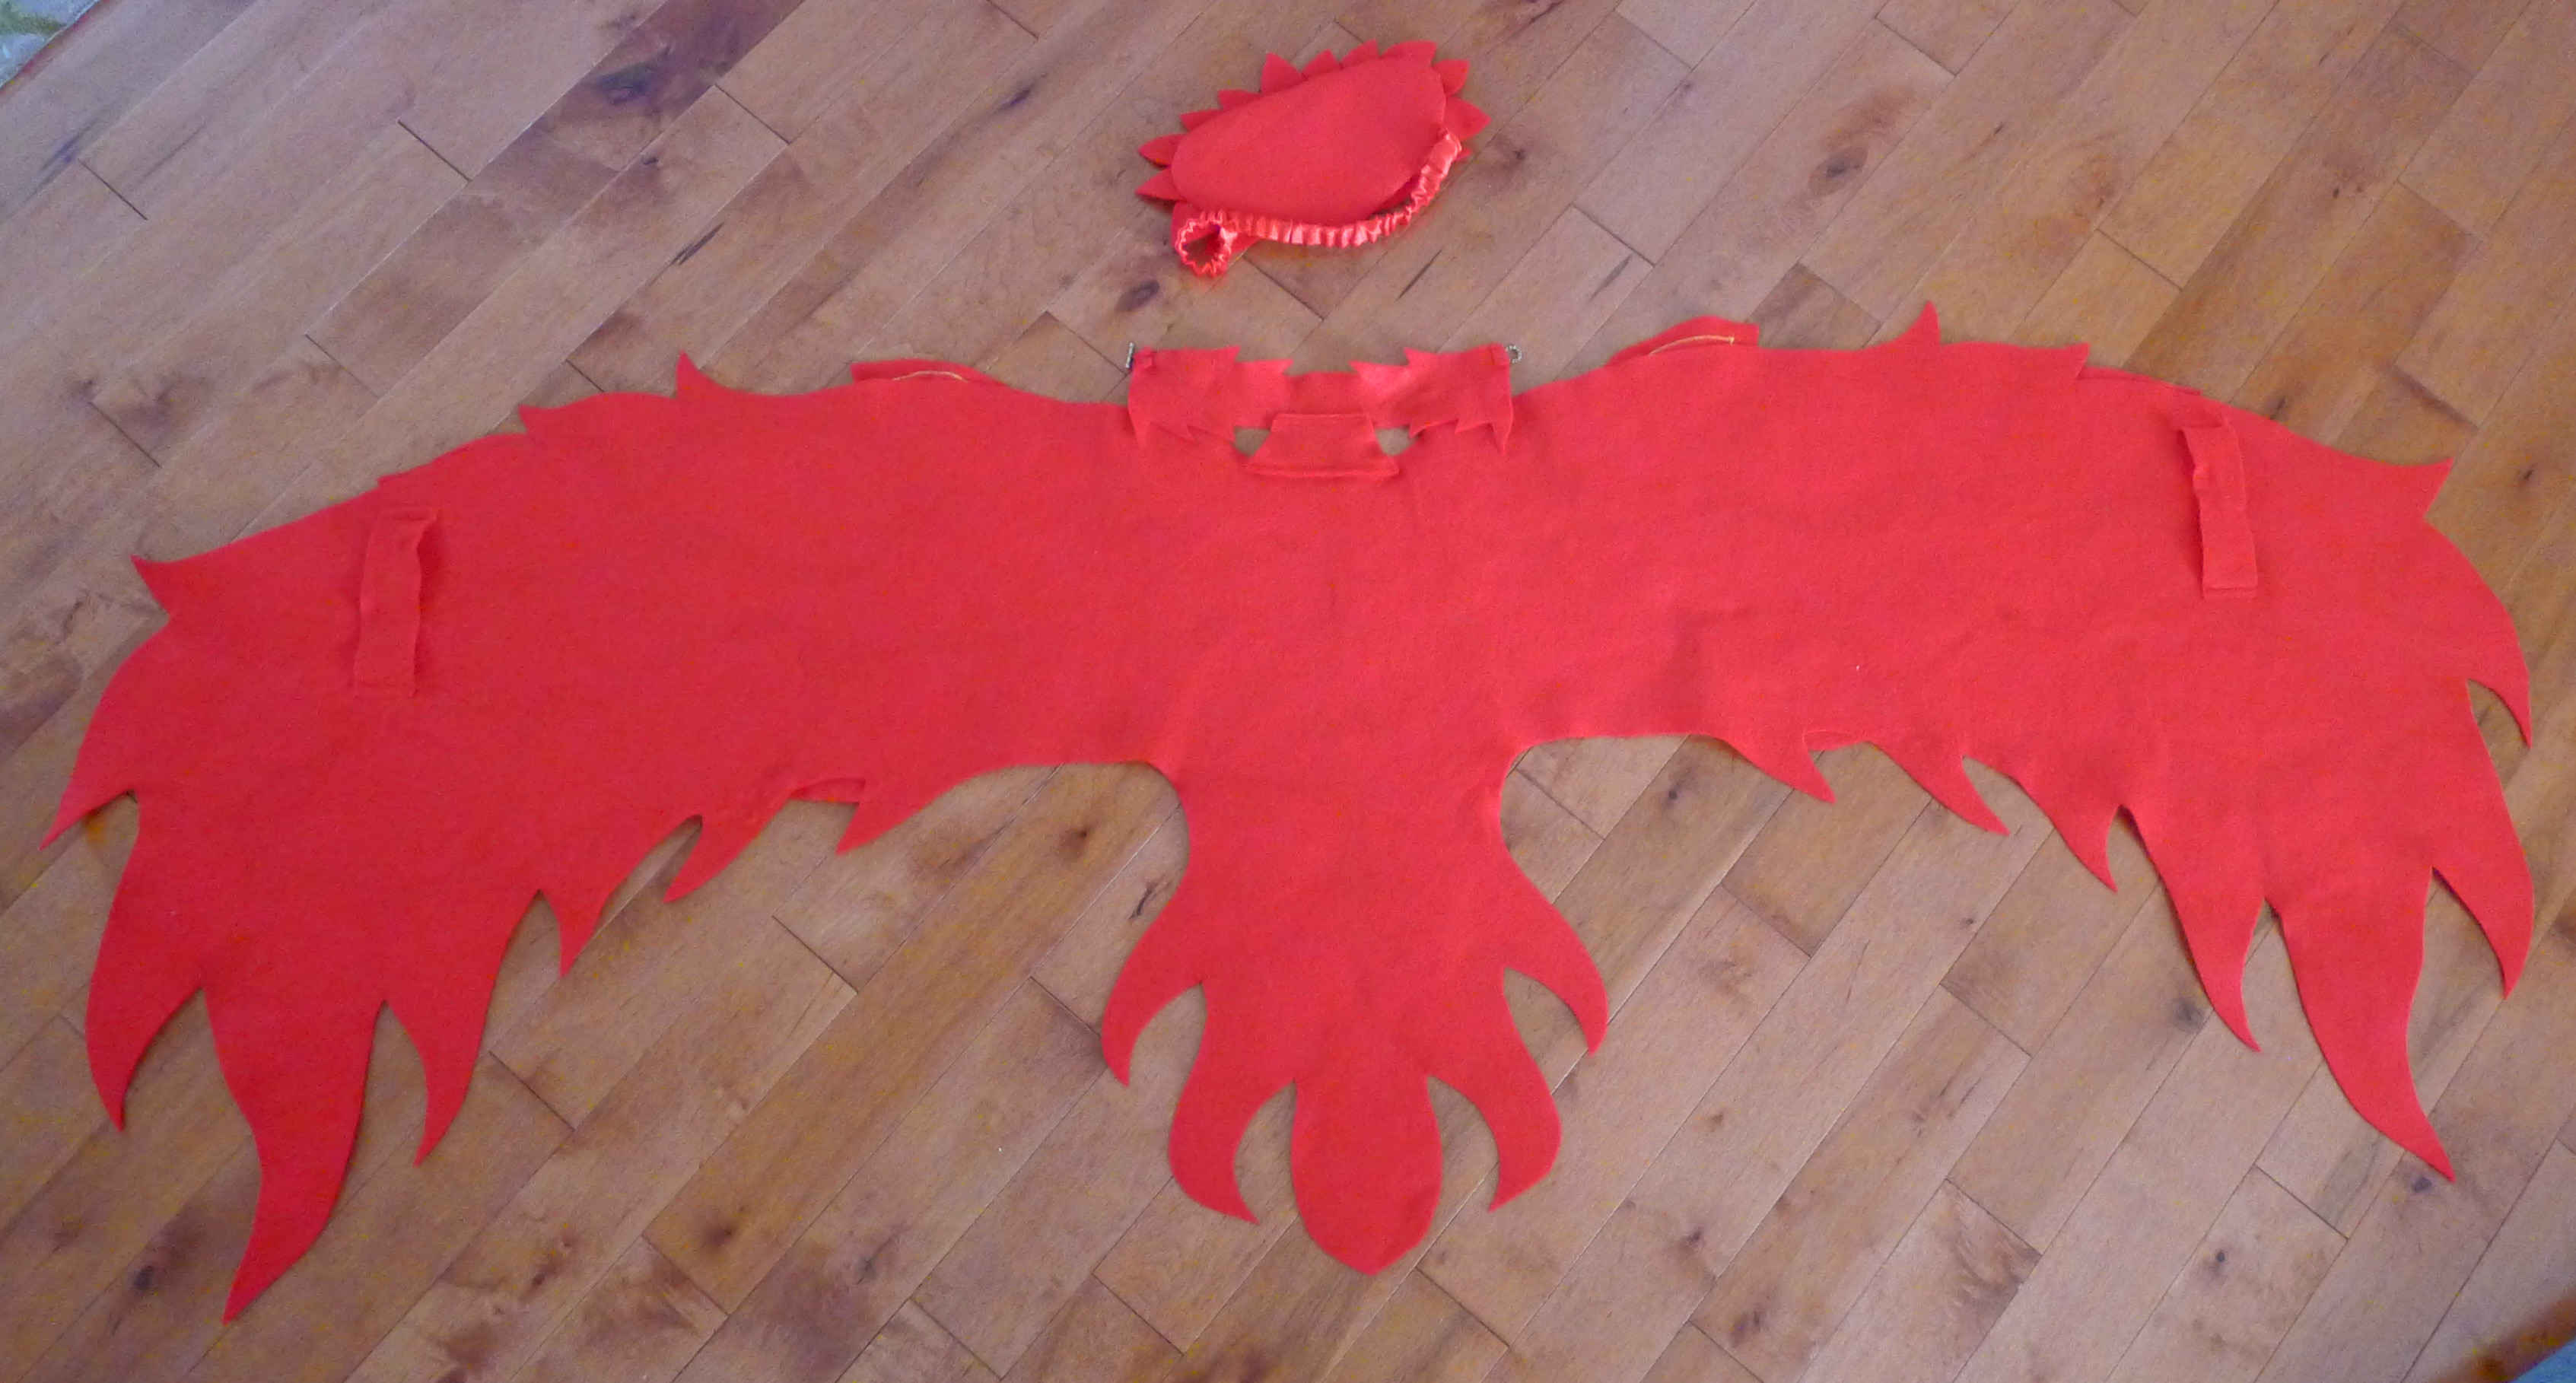
Phoenix
Back of wingsCrown
I created the phoenix wings after I had already done the bluebird wings. I knew by that point that I wanted to make them in a different way. I found these gorgeous wings online. They looked like a promising point of inspiration so I used wool felt and satin. The felt was very easy to work with. I appliqued yellow satin flames onto felt pieces and then glued everything down with tacky glue. I was afraid hot glue would be too messy. The tacky glue held up pretty well on the wings. I did hot glue the pieces on her crown. Unfortunately, these wings were not as warm as her sister’s wings. But, they were much easier to make. If I ever make wings again, I will use wool felt.
Inside of wings
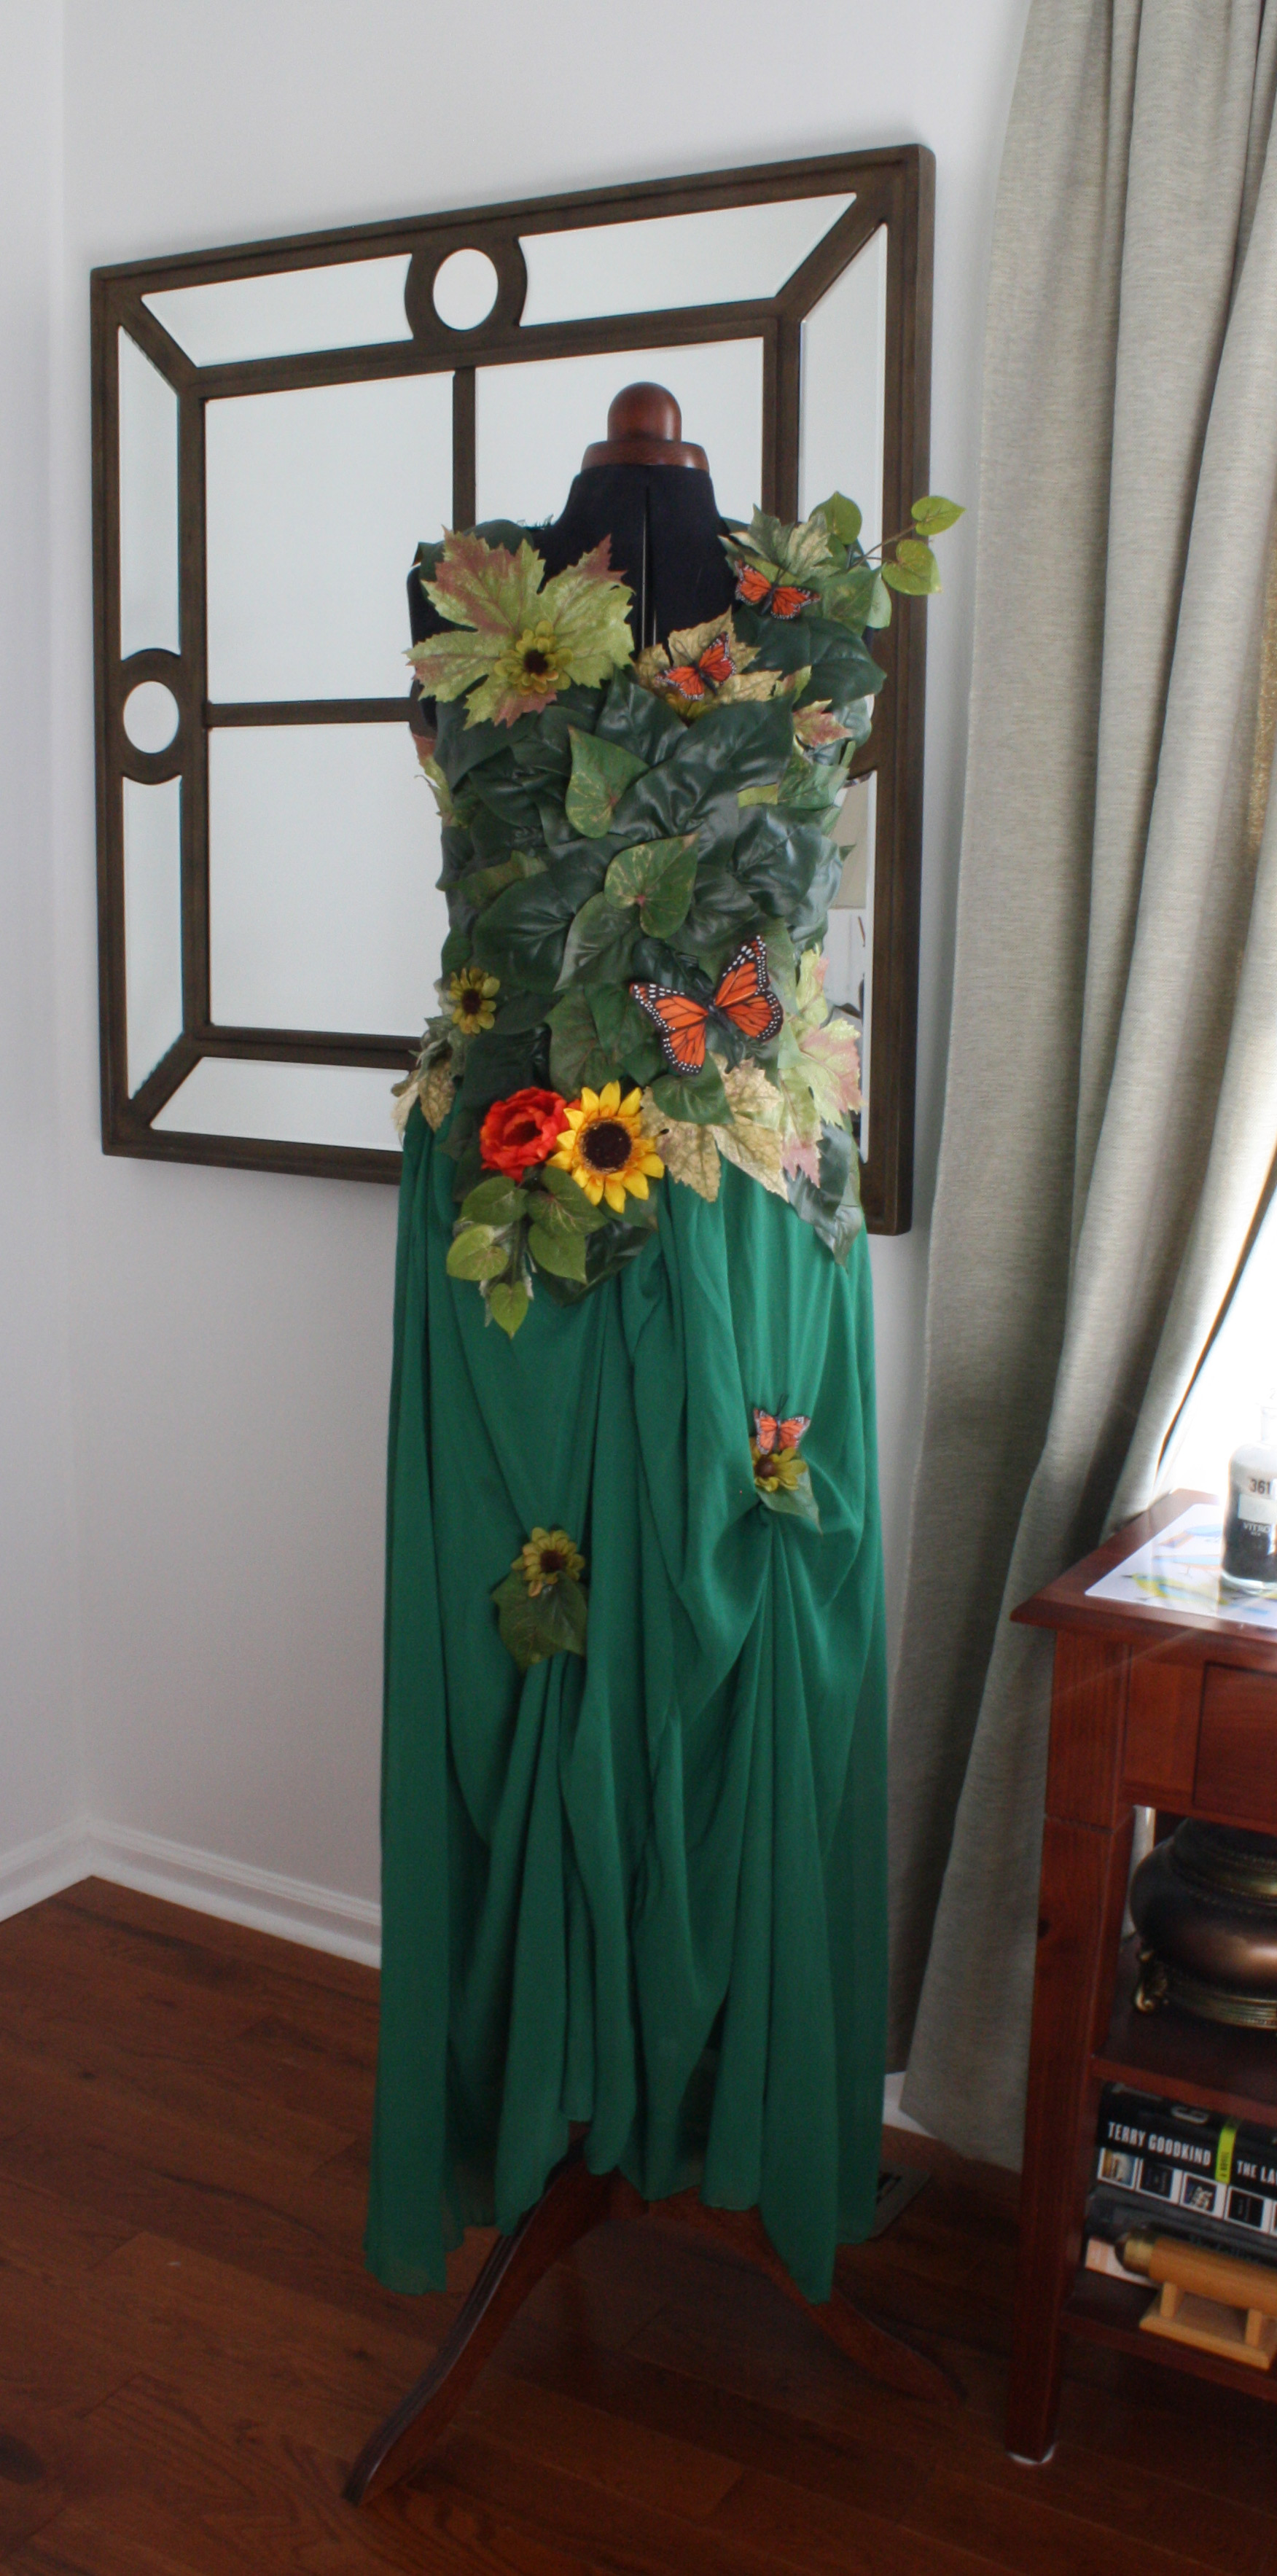
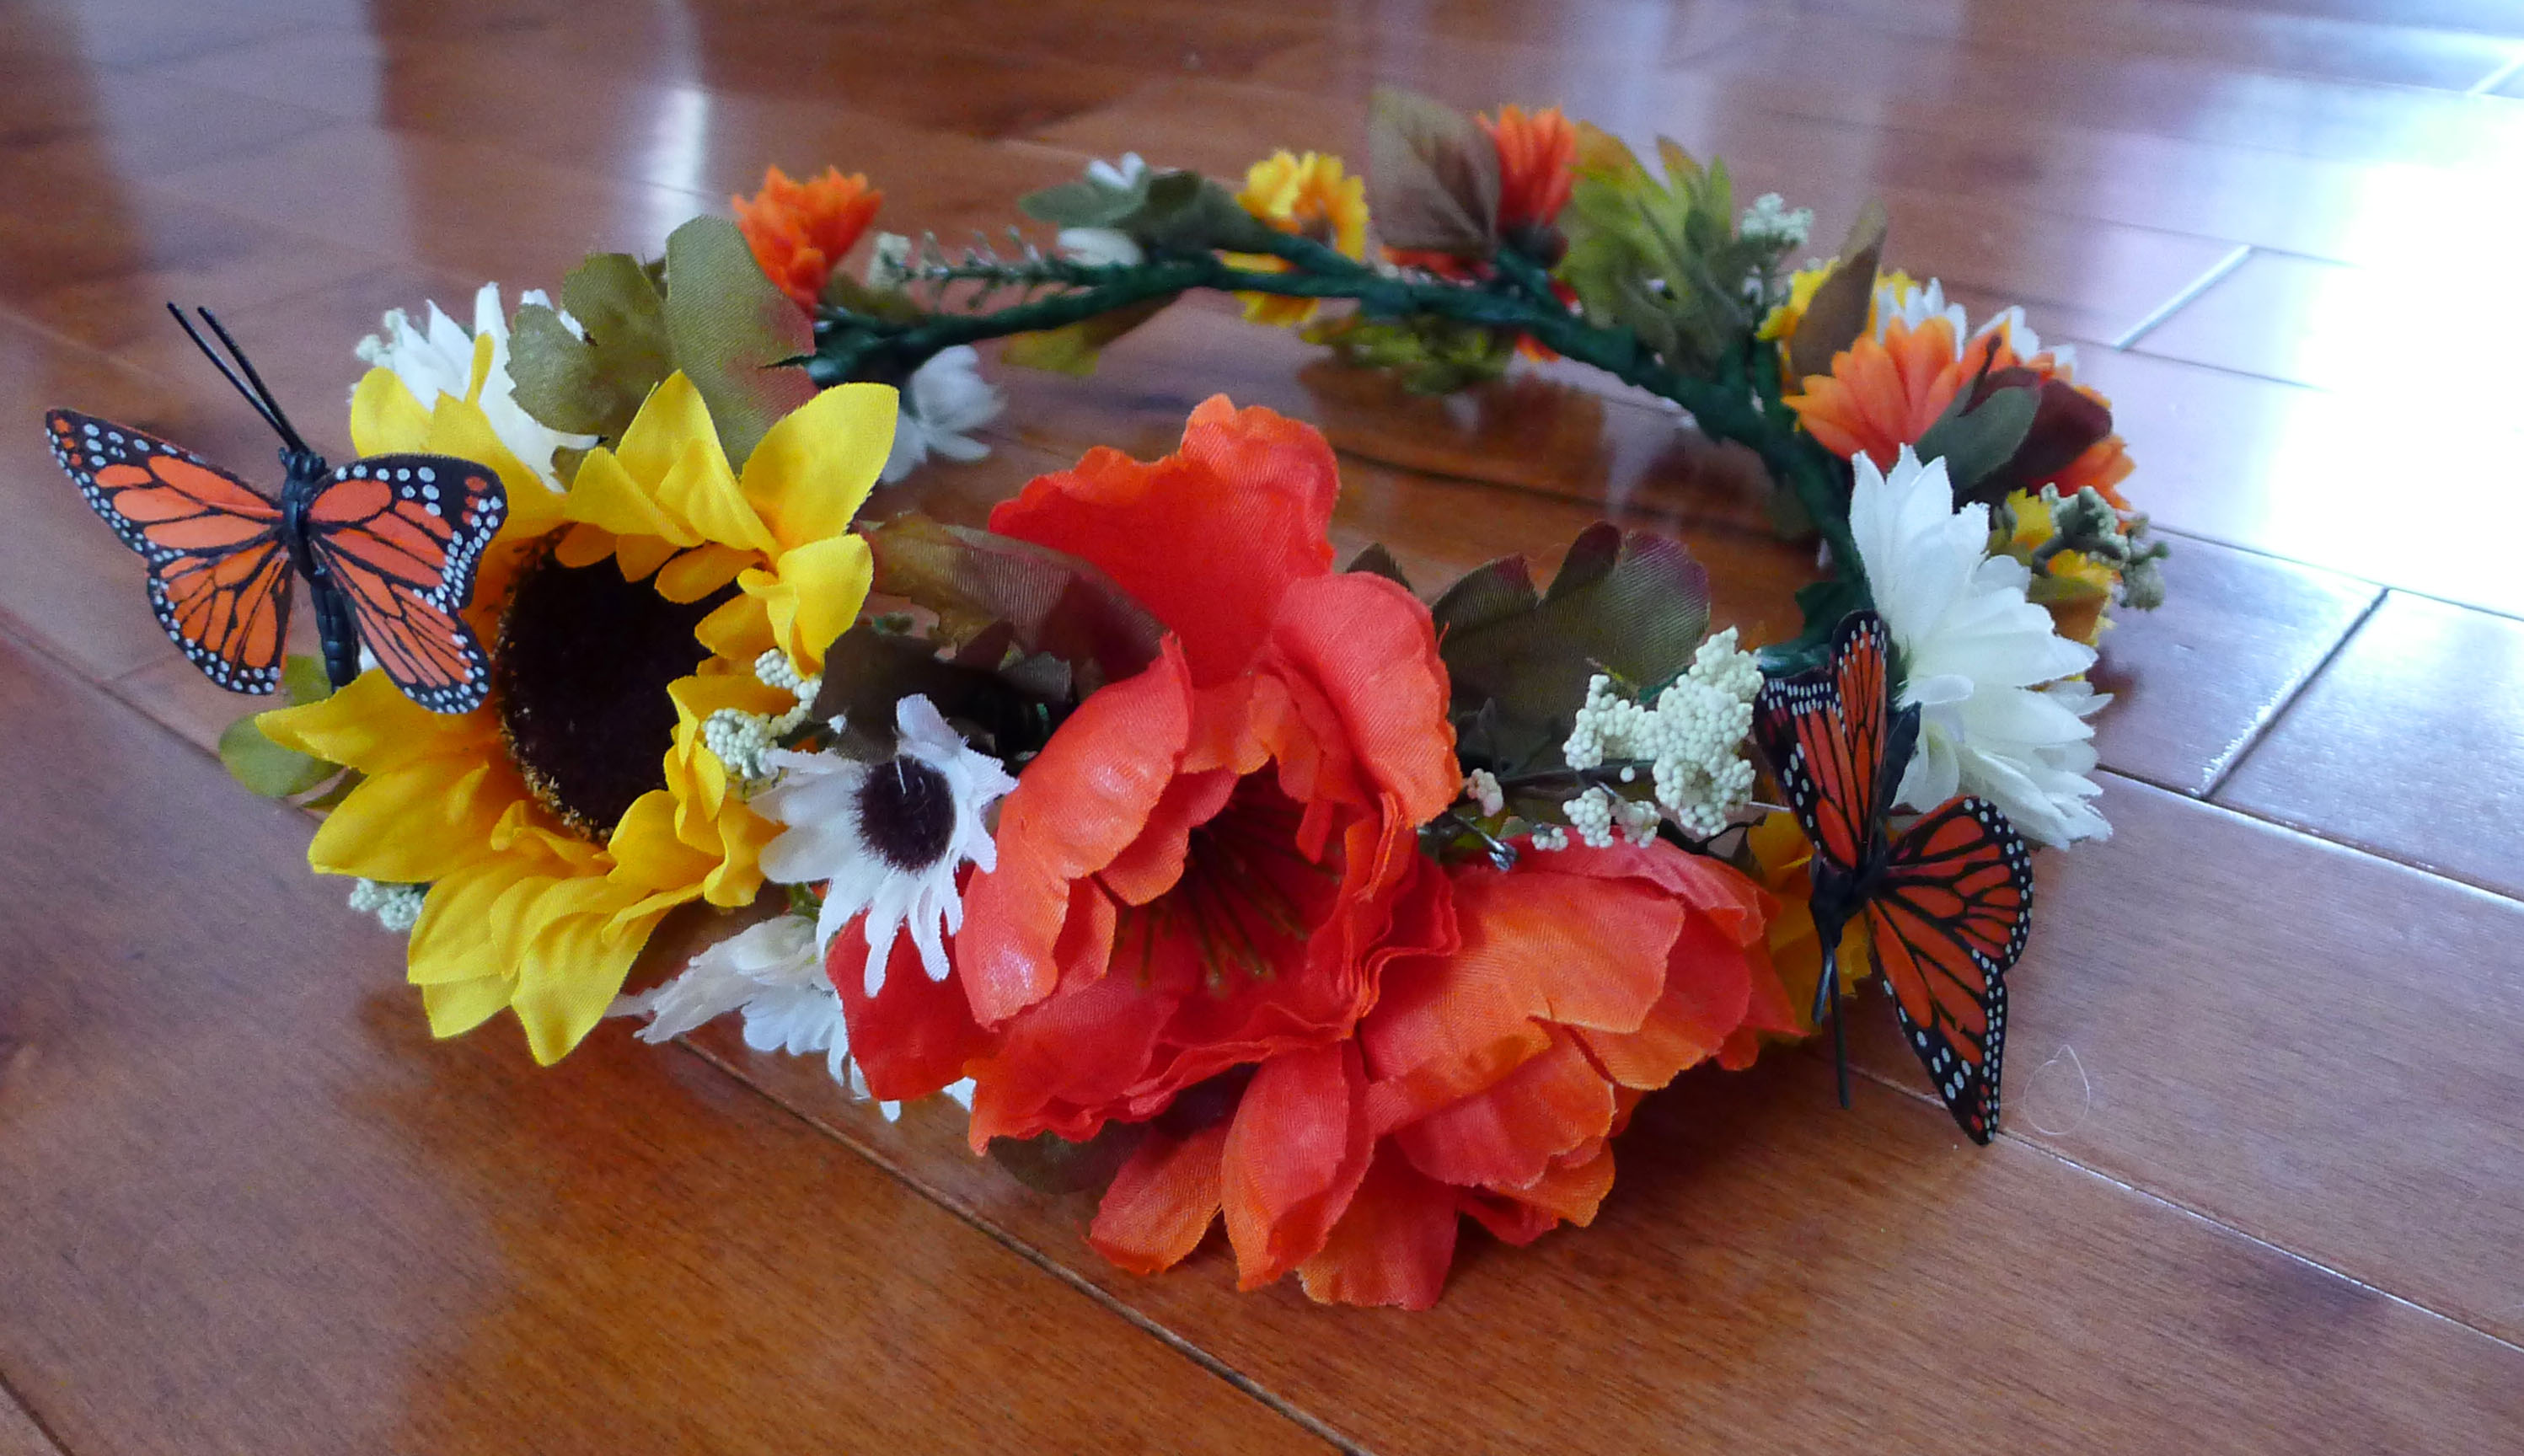
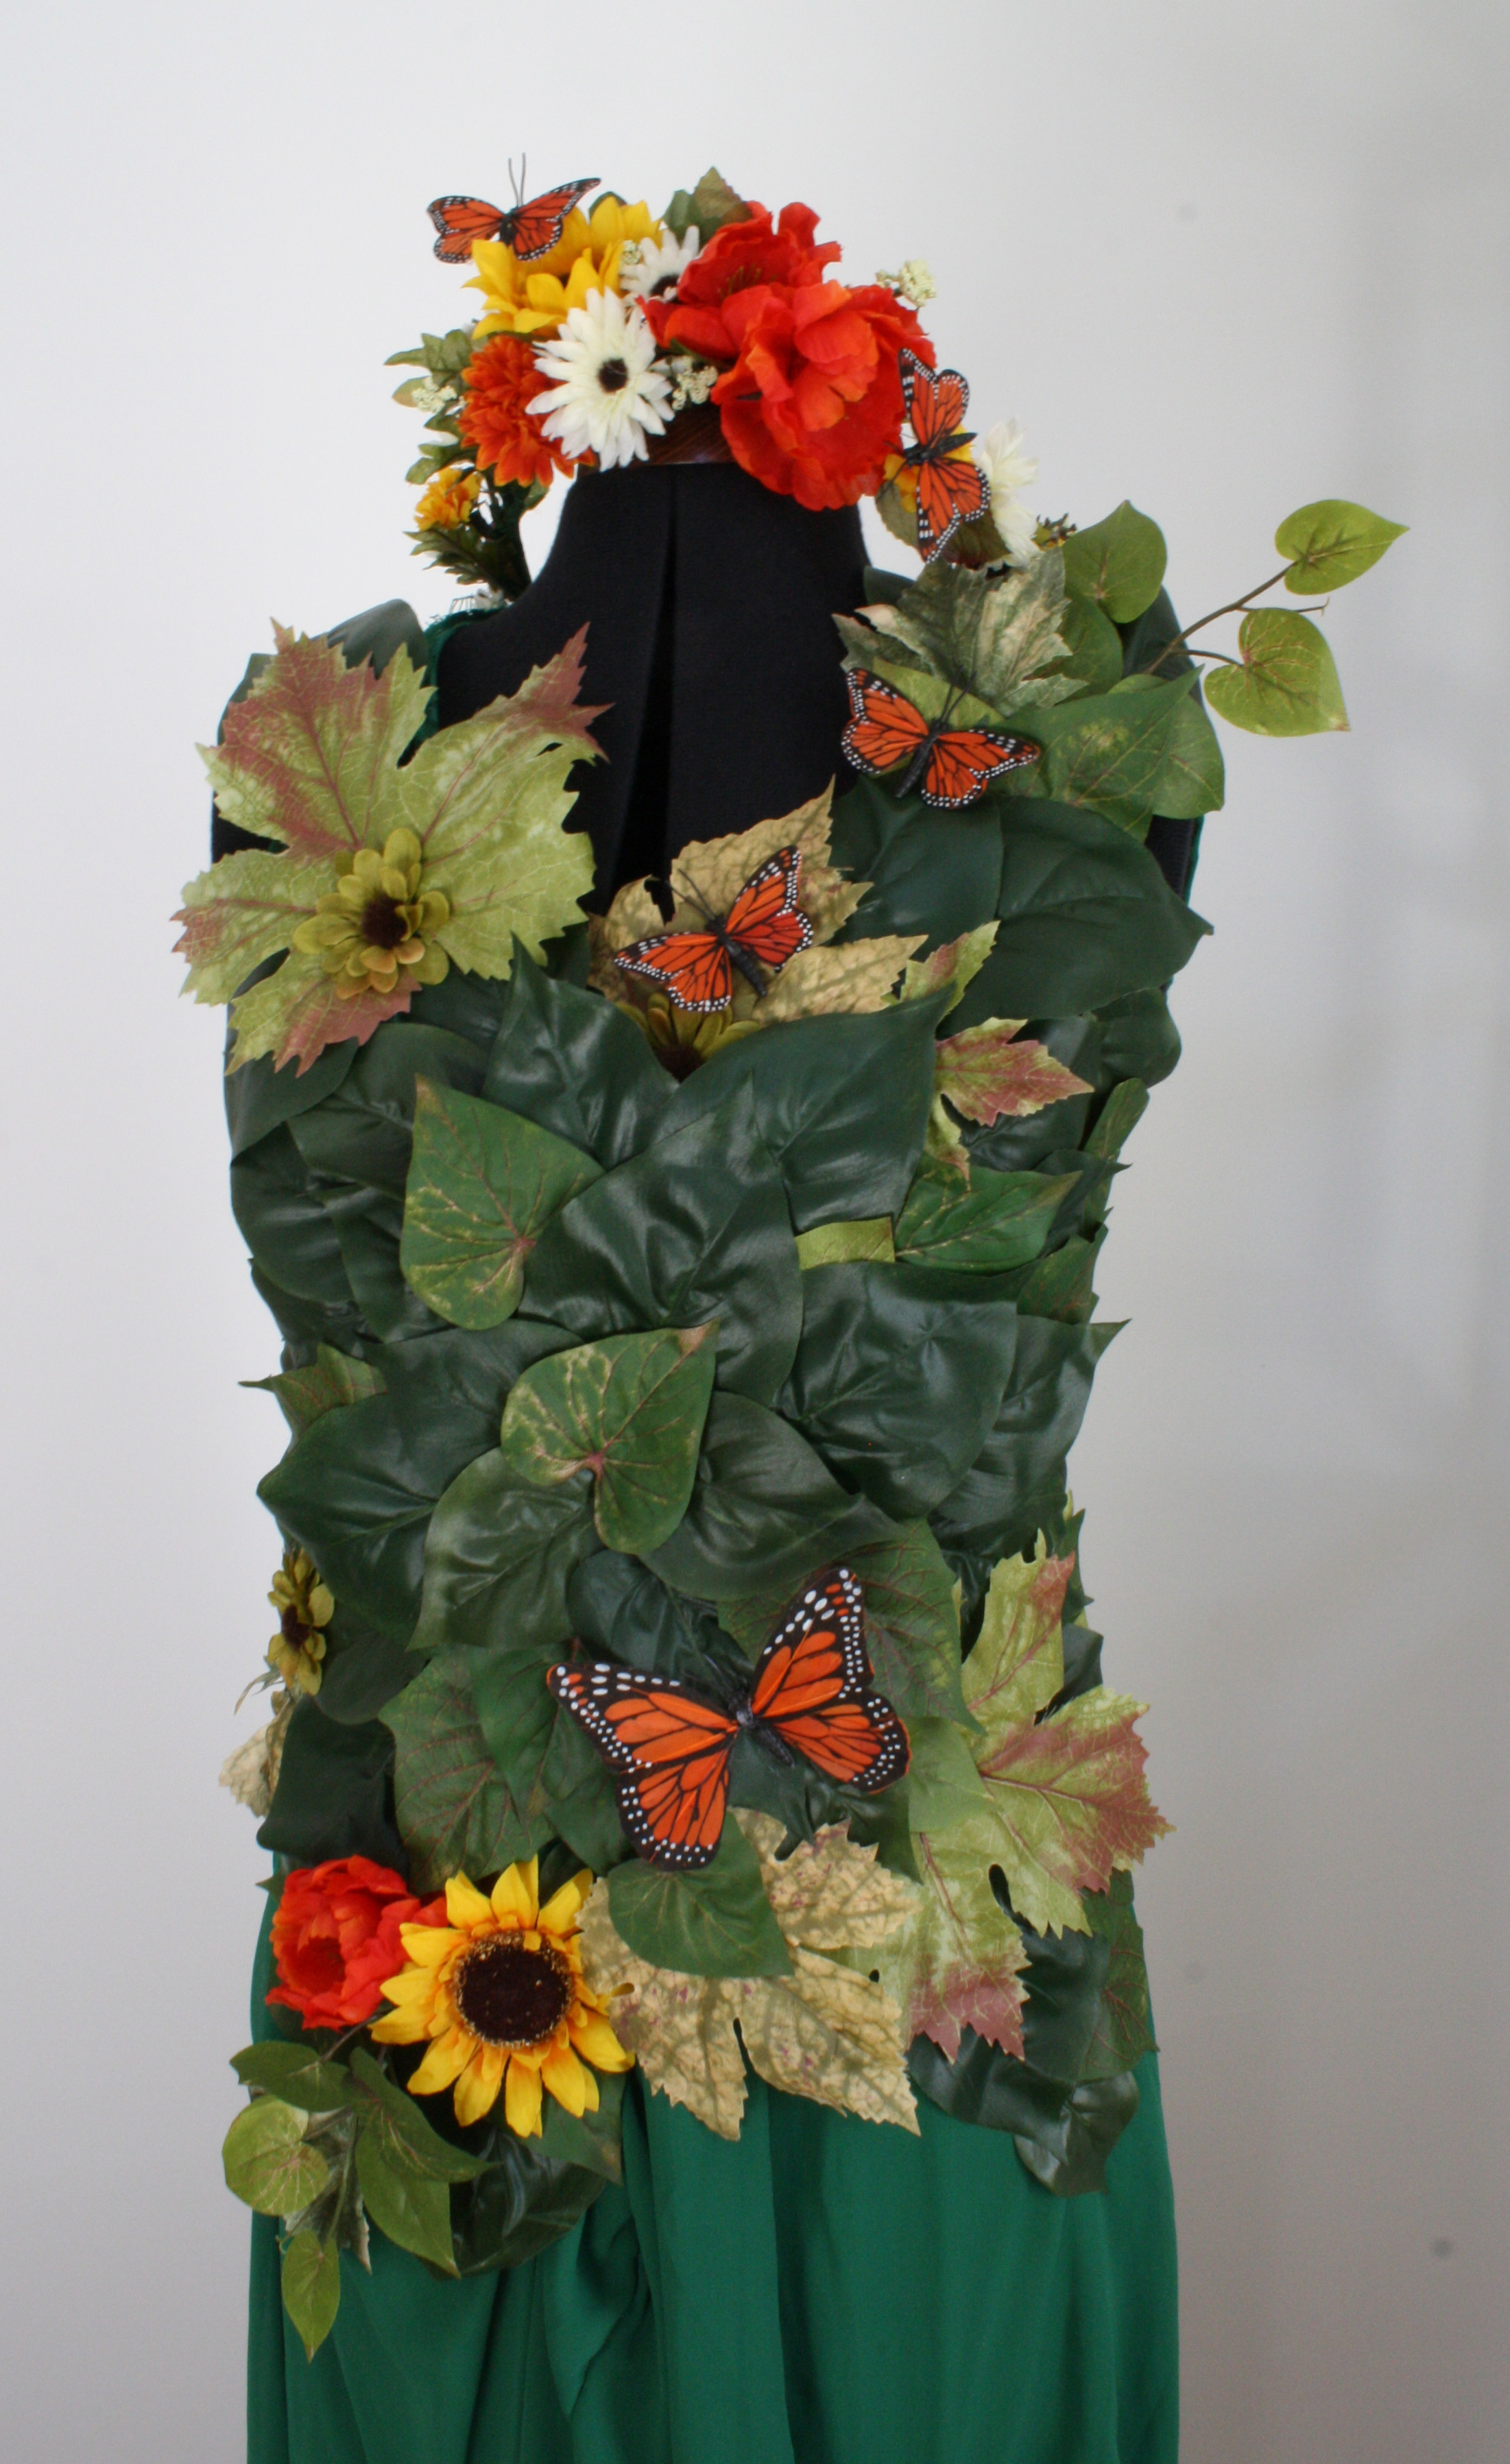
Woodland Fairy Queen
Leafy Gown
I used this wonderful costume as inspiration for my own costume. I sewed some of the leaves on first and when that got old (really fast), I hot glued the rest on. I did put an old t-shirt on my dress form to make sure that I didn’t get glue on her. I hand wired and taped (with floral tape) all of the flowers for my halo. The halo ended up taking more time to complete than the dress did.
We have moved a lot of times in the past decade. A LOT of times. So many boxes.
All of those moves played tricks on my memory. I could have sworn that I packed one thing in with something that I knew I already unpacked, but then it just wasn’t anywhere to be found. Josh bought me a Wacom tablet for Christmas several years ago. We moved. I couldn’t find it anywhere. Finally, last year we bought a house and I swore that I would open up every single box that we had been lugging around. A few months ago, I finally located my Wacom tablet. It was in box with some photos. A box that I was SURE I had not packed it in.
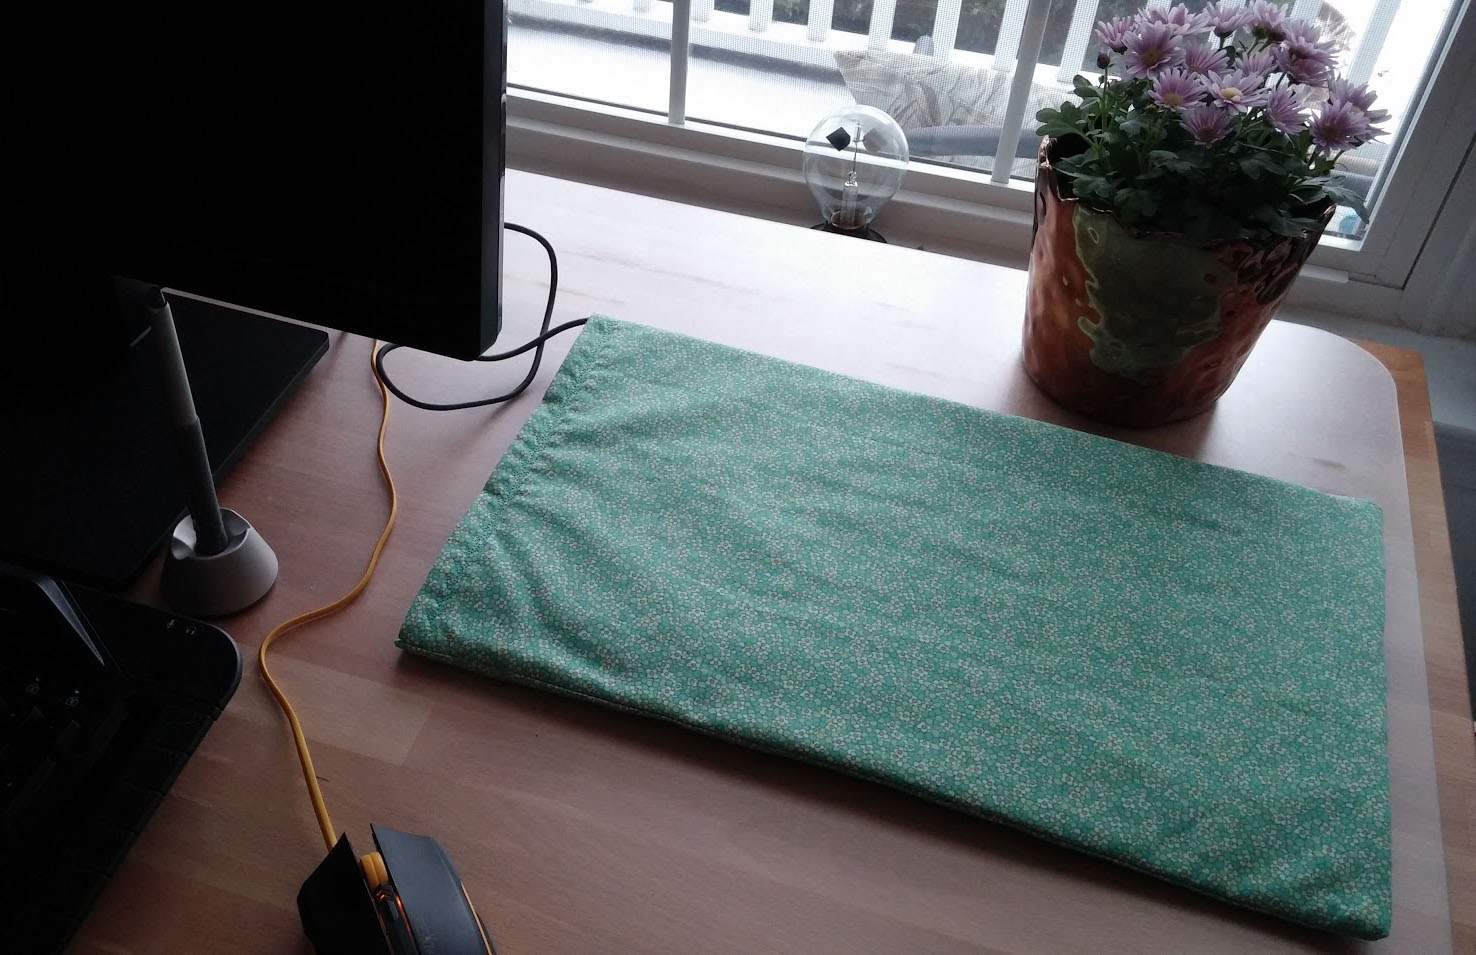
I just got a new computer and I am reorganizing my desk, so the Wacom tablet is finally out of hiding. I plugged it in, downloaded drivers, and it works! I am so excited about this! But it looks delicate and naked lying there on my desk. It needs a protective little cover. This was today’s snowy day project.
Using scraps from my fabric chest.Soft inside for extra protection.
I wanted a little pillow case type cover with a soft layer to lay against the tablet screen. I cut three rectangular pieces of fabric. Two print, and one fleece. I sewed right sides of one print and the fleece together leaving a little opening so that I could turn it right side out.Then I sewed what would be the top edge with a decorative stitch. Then I hemmed the top edge of the other piece of print fabric. I put the right sides of the prints together and sewed up the three sides to make my little cover.
And now I feel better about having the Wacom out in the open.


